Chimney Tuckpointing Cost in Seattle (2026 Complete Guide)
What Is Chimney Tuckpointing — and Why Seattle Chimneys Need It More Than Most
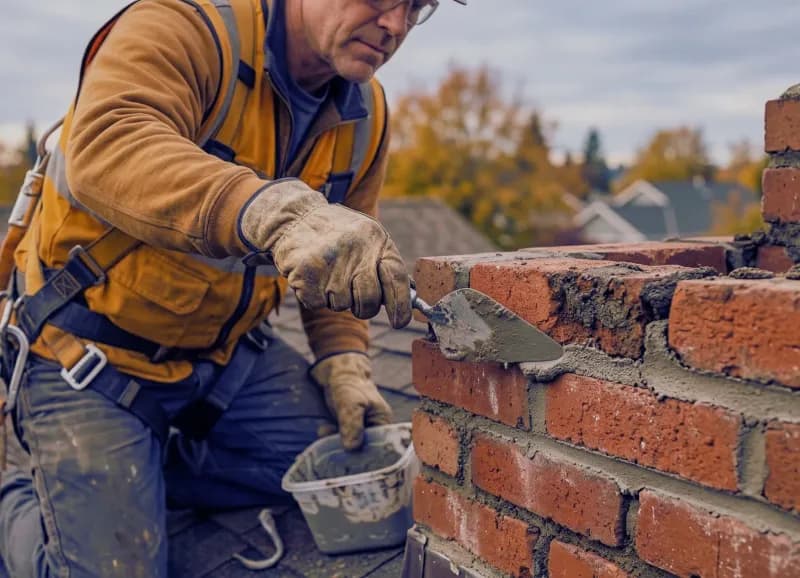
Tuckpointing is the process of removing deteriorated mortar from the joints between bricks and replacing it with fresh mortar. The term comes from the traditional technique of tucking new mortar into the cleaned-out joints using a narrow pointing trowel. Over time, every masonry chimney loses mortar — wind, rain, temperature swings, and simple age grind it away — but in Seattle the process is dramatically accelerated.
The Puget Sound region averages 152 rain days and 37 inches of precipitation per year. Water saturates exposed mortar joints, then overnight temperatures drop just below freezing 20-40 times each winter. Every freeze-thaw cycle expands water in the joints by roughly 9%, prying microscopic cracks wider until the mortar crumbles and falls out entirely. Add moss and lichen — which root into soft mortar and hold moisture against it year-round — and you have the perfect recipe for accelerated joint failure.
If your chimney has gaps where mortar used to be, white staining (efflorescence) on the bricks, or mortar you can scratch out with a car key, tuckpointing is the repair that stops the damage before it spreads to the bricks themselves. Bricks are expensive to replace; mortar is relatively cheap. That's the whole point of tuckpointing — sacrifice the mortar so the bricks survive.
Tuckpointing vs. Repointing: Is There a Difference?
In the chimney industry, these terms are used almost interchangeably, but there is a technical distinction:
Repointing
Repointing is the broader term. It means removing old mortar and filling the joints with new mortar. The new mortar matches the existing color and profile. This is what most chimney contractors in Seattle actually perform.
Tuckpointing (Traditional)
Traditional tuckpointing is a decorative technique originating in 18th-century England. The mason fills the joints with mortar that matches the brick color, then scores a thin groove down the center of each joint and fills it with a contrasting (usually white) lime putty line. The result creates an illusion of very fine, precise brickwork. This technique is rarely done on chimneys today — it's mostly reserved for historic restoration.
What You'll Actually Get in Seattle
When a Seattle chimney contractor says "tuckpointing," they almost always mean repointing — removing bad mortar and replacing it with color-matched new mortar. For the rest of this guide, we'll use the term tuckpointing as it's commonly understood locally: grinding out deteriorated joints and filling them with fresh mortar.
7 Signs Your Chimney Needs Tuckpointing
Catching mortar deterioration early is the key to keeping costs low. Here are the signs our crews see most often during Seattle-area inspections:
- Crumbling or sandy mortar — if you can scrape mortar out with a fingernail or key, it has lost its binding strength and is no longer protecting the bricks.
- Visible gaps between bricks — missing mortar means water has a direct path into the chimney structure. In Seattle's rain, this causes interior damage fast.
- White staining (efflorescence) — mineral salt deposits on the brick surface mean water is migrating through the masonry and evaporating on the face. Learn more in our guide to efflorescence on chimney bricks.
- Moss or plant growth in the joints — biological growth holds moisture against the mortar 24/7, dramatically accelerating deterioration.
- Spalling bricks — when the brick faces pop off or flake, water has already penetrated past the mortar and is freezing inside the brick itself. This means tuckpointing is overdue.
- Water stains on interior walls near the chimney — failed mortar joints are one of the top three entry points for chimney leaks in Western Washington.
- Mortar dust or pieces in the firebox — if mortar fragments are falling into the fireplace, the interior joints are failing. A chimney inspection will confirm the extent.
If you spot two or more of these signs, schedule an inspection before the next rainy stretch. Catching deterioration at the mortar stage saves thousands compared to waiting until bricks need replacing.
2026 Chimney Tuckpointing Cost Breakdown (Seattle)
Pricing varies by how many joints need work, the chimney's height, roof access difficulty, and the mortar type required. Here are current Seattle-metro ranges:
| Scope of Work | Typical Cost (Seattle 2026) | Details |
|---|---|---|
| Spot tuckpointing (small area, <10 sq ft) | $500 - $1,000 | A few joints on one face; minimal scaffolding |
| Partial tuckpointing (one or two faces) | $1,000 - $1,800 | Weather-exposed sides (usually west and south) |
| Full chimney tuckpointing (all four faces) | $1,500 - $2,500 | Complete mortar replacement; standard-height chimney |
| Historic lime mortar tuckpointing | $2,000 - $3,500 | Pre-1940 homes; requires Type O or custom lime mortar |
| Tall chimney / difficult access surcharge | +$500 - $1,500 | Multi-story, steep pitch, hillside properties |
These prices include labor, materials, roof access setup, and cleanup. Most tuckpointing jobs on a standard chimney take 1-2 days. For a firm quote on your specific chimney, request a free estimate — we inspect from the roof and send a written quote the same day.
Why Seattle Tuckpointing Costs More Than National Averages
National home-improvement sites quote chimney tuckpointing at $300-$1,500. That range is misleading for the Pacific Northwest for several reasons:
1. Rain and Freeze-Thaw Cause Deeper Deterioration
By the time a Seattle homeowner notices bad mortar, the damage often extends deeper than it would in a drier climate. Joints may need to be ground out 1 inch or more — sometimes down to the full depth of the brick — versus the shallow raking that suffices in Arizona or Texas. Deeper grinding means more labor and more mortar.
2. Moss Removal Adds Prep Time
Biological growth must be fully removed and the joints treated before new mortar can bond properly. On many Seattle chimneys, moss removal adds 1-2 hours of prep work that contractors in drier climates never deal with.
3. Older Housing Stock
Seattle's older neighborhoods — Queen Anne, Capitol Hill, Ballard, Wallingford, Magnolia — have chimneys built with lime mortar that requires careful matching. Using modern Portland cement mortar on a lime-mortar chimney traps moisture and destroys the soft historic bricks. See our guide to chimney care for historic Seattle homes.
4. Roof Access Is Harder
Steep-pitch roofs (8/12 to 12/12), cedar shingle surfaces you cannot walk on, and hillside properties all require additional safety setup — roof jacks, harnesses, sometimes scaffolding or a boom lift. Every one of those adds to the mobilization cost.
The Tuckpointing Process: Step by Step
Understanding the process helps you evaluate contractor quotes and spot shortcuts. Here is what a proper tuckpointing job looks like:
Step 1 — Inspection and Assessment
The contractor inspects the chimney from the roof, identifying which joints have failed, how deep the deterioration goes, whether any bricks need replacement, and what type of mortar was originally used. Photos are taken for reference.
Step 2 — Joint Removal (Raking or Grinding)
Deteriorated mortar is removed to a minimum depth of 3/4 inch (ideally the full joint depth for badly degraded joints). This is done with an angle grinder fitted with a thin diamond blade or a specialized mortar raking tool. The goal is to create a clean, uniform channel for the new mortar to bond to. Dust and loose debris are blown or brushed out.
Step 3 — Wetting the Joints
Dry brick absorbs water from fresh mortar too quickly, preventing proper curing. The joints and surrounding brick are misted with water until damp — not soaking — before mortar is applied. In Seattle's climate this step is sometimes handled by nature, but on dry summer days it matters.
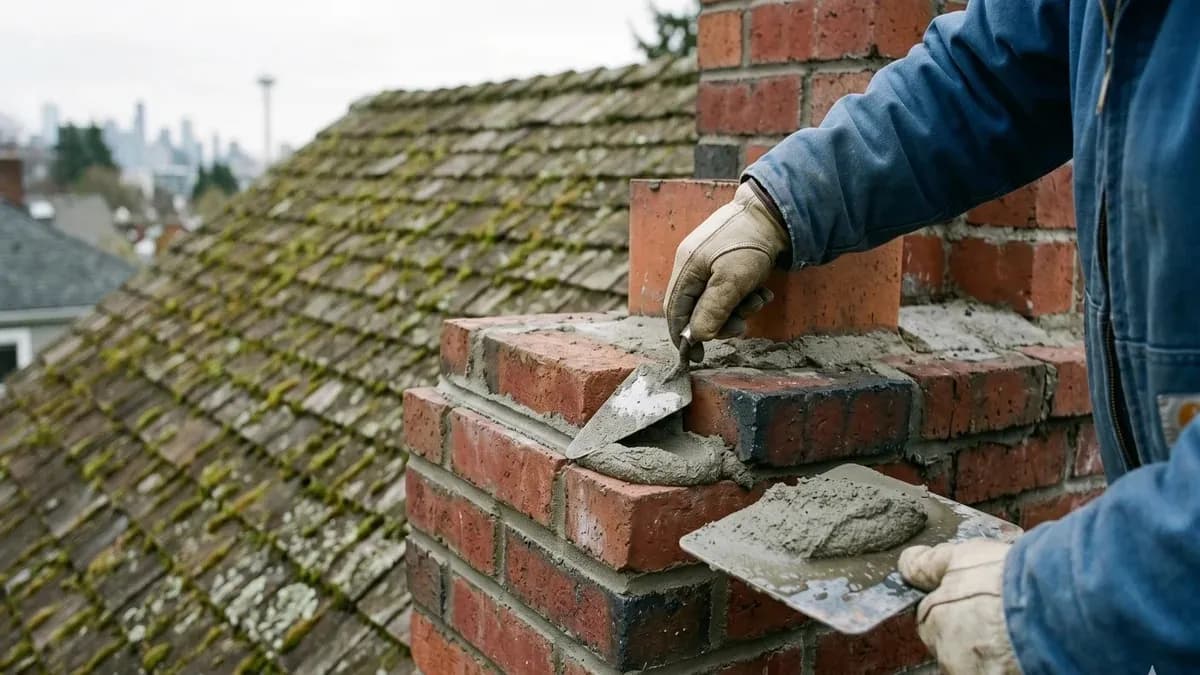
Step 4 — Applying New Mortar
Fresh mortar is pressed firmly into the joints in layers using a pointing trowel and a hawk. Each layer is tooled to the desired joint profile — concave (most common and most water-shedding), V-joint, flush, or raked, depending on the original style.
Step 5 — Tooling and Finishing
Once the mortar reaches "thumbprint" firmness (usually 20-30 minutes), the joints are tooled with a jointing iron to compress the surface and create a smooth, water-shedding profile. Excess mortar is brushed off the brick face.
Step 6 — Curing
Fresh mortar needs to cure slowly — at least 24-48 hours without heavy rain or direct sun. In ideal Seattle conditions (overcast, 50-60°F), mortar cures beautifully. A light misting during hot spells prevents too-rapid drying.
Step 7 — Cleanup and Optional Sealing
Brick faces are brushed clean of mortar smears. If the homeowner opts for waterproofing, a breathable siloxane sealant is applied after full curing (typically 7 days) to protect both the new joints and the brick.
DIY Tuckpointing vs. Hiring a Professional
Tuckpointing is one of those repairs where the skill gap between DIY and professional work is significant. Here's the honest breakdown:
When DIY Might Work
- The chimney is on a single-story home with safe, low-pitch roof access
- Only a small area (a few joints) needs attention
- The mortar is standard Portland cement-based (not lime mortar)
- You own or can rent a proper mortar raking tool
- You have experience mixing and applying mortar
When You Should Hire a Professional
- The chimney is tall, on a steep roof, or hard to reach safely
- Multiple faces or the full chimney needs work
- The home is pre-1940 and likely has lime mortar (wrong mortar type will damage the bricks)
- Bricks are also damaged and need replacement alongside the mortar
- You want a warranty and insurance coverage on the work
The Cost of Getting It Wrong
Improperly applied mortar fails within 2-5 years. Mortar that's the wrong type (Portland cement on lime-mortar brick) actively damages the bricks by trapping moisture. Poor joint profiles that don't shed water actually accelerate deterioration. A failed DIY tuckpointing job typically costs more to redo correctly than the original professional job would have cost — because the contractor now has to remove your new mortar before applying theirs. For most chimney work, professional tuckpointing is the better investment. Learn about our chimney repair services.
Mortar Types Compared: Choosing the Right Mix
Using the correct mortar type is critical. The wrong choice can cause more damage than leaving the old mortar in place. Here's what you need to know:
| Mortar Type | Compressive Strength | Best For | Notes |
|---|---|---|---|
| Type N | 750 PSI | Most chimney tuckpointing (post-1940) | Good balance of strength and flexibility; industry standard for above-grade masonry |
| Type S | 1,800 PSI | Chimneys in high-wind or seismic zones | Higher lateral strength; sometimes specified in WA for earthquake resistance |
| Type O | 350 PSI | Historic homes with soft brick (pre-1920) | Softer than the brick — mortar sacrifices before brick; correct for preservation |
| Natural Hydraulic Lime (NHL) | Varies (200-500 PSI) | Historic restoration, landmark buildings | Breathable, self-healing micro-cracks, period-appropriate; specialist skill required |
The critical rule: the mortar must always be softer than the brick. If the mortar is harder than the brick (common mistake: using Type S on soft historic brick), moisture gets trapped inside the brick, freezes, and blows the brick face off — a condition called spalling. This is why matching the original mortar type matters more than using the "strongest" option. A knowledgeable chimney repair contractor will test or research the original mortar before mixing.
How to Get the Best Tuckpointing Quote
Not all tuckpointing quotes are created equal. Here's what to look for and what to ask:
- Roof-top inspection included? Any contractor quoting tuckpointing from the ground is guessing. Insist on a roof-top assessment with photos before you agree to any scope of work.
- What mortar type will they use? They should be able to tell you (Type N, Type S, lime mortar) and explain why it's appropriate for your chimney. If they can't answer this, keep looking.
- How deep will they grind? Minimum 3/4 inch for a lasting repair. Some budget contractors only scratch out 1/4 inch — this mortar pops out within a few years.
- Will they color-match? New mortar should visually match the existing joints. It won't be perfect immediately (fresh mortar lightens as it cures), but it should be close.
- What about damaged bricks? If any bricks are spalled or cracked, they should be called out in the quote with a per-brick replacement cost. Tuckpointing around a bad brick is a temporary fix.
- Is waterproofing recommended? In Seattle, applying a breathable sealant after tuckpointing extends the life of the work by 5-10 years. It should be offered as an option, not assumed.
- Warranty? Reputable contractors offer 5-10 year warranties on tuckpointing. Ask what's covered and what voids the warranty.
- Licensed and insured? Verify their Washington State contractor license. Ours is #SEATTCP7840L.
Seattle Chimney Pros has been tuckpointing chimneys across the Seattle metro since 2011. We've restored mortar joints on everything from 1905 Capitol Hill craftsmen to modern Bellevue construction. Call (253) 429-8006 or request a free estimate online — we'll inspect from the roof, photograph every joint, and give you a written quote the same day.
Protecting Your Investment: What to Do After Tuckpointing
Fresh tuckpointing is an investment — here's how to make it last as long as possible in Seattle's challenging climate:
- Wait 7 days before waterproofing. Let the mortar cure fully before applying any sealant. A breathable siloxane-based waterproofing agent is ideal — it lets moisture vapor escape while blocking liquid water.
- Remove moss annually. A soft brush or zinc strips along the roofline near the chimney prevent moss from rooting back into the fresh joints. Never pressure-wash a chimney — it erodes mortar and can crack brick.
- Inspect annually. Have your chimney inspected once per year. Catching a single failed joint early costs $100-$200 to fix; waiting until an entire face has deteriorated costs $1,000+.
- Maintain the chimney crown. The crown sheds water off the top of the chimney. If it cracks, water runs directly down the mortar joints below it, undoing your tuckpointing work. See our chimney repair cost guide for crown repair pricing.
- Keep the chimney cap in place. A missing or damaged cap lets rain pour directly onto the chimney structure from above.
- Address flashing issues promptly. Failed flashing where the chimney meets the roof is the other major water entry point. If both flashing and mortar are repaired together, the chimney stays dry from every direction.
With proper maintenance, professional tuckpointing in the Pacific Northwest should last 25-30 years — sometimes longer on sheltered faces. Without maintenance, even excellent work can start failing in 10-15 years due to our relentless moisture exposure.
Need professional help?
Our professionally trained team is ready. Free estimate, 30-minute response.