Wood-to-Gas Fireplace Conversion Cost in Seattle (2026 Guide)
Why Seattle Homeowners Are Converting Wood Fireplaces to Gas
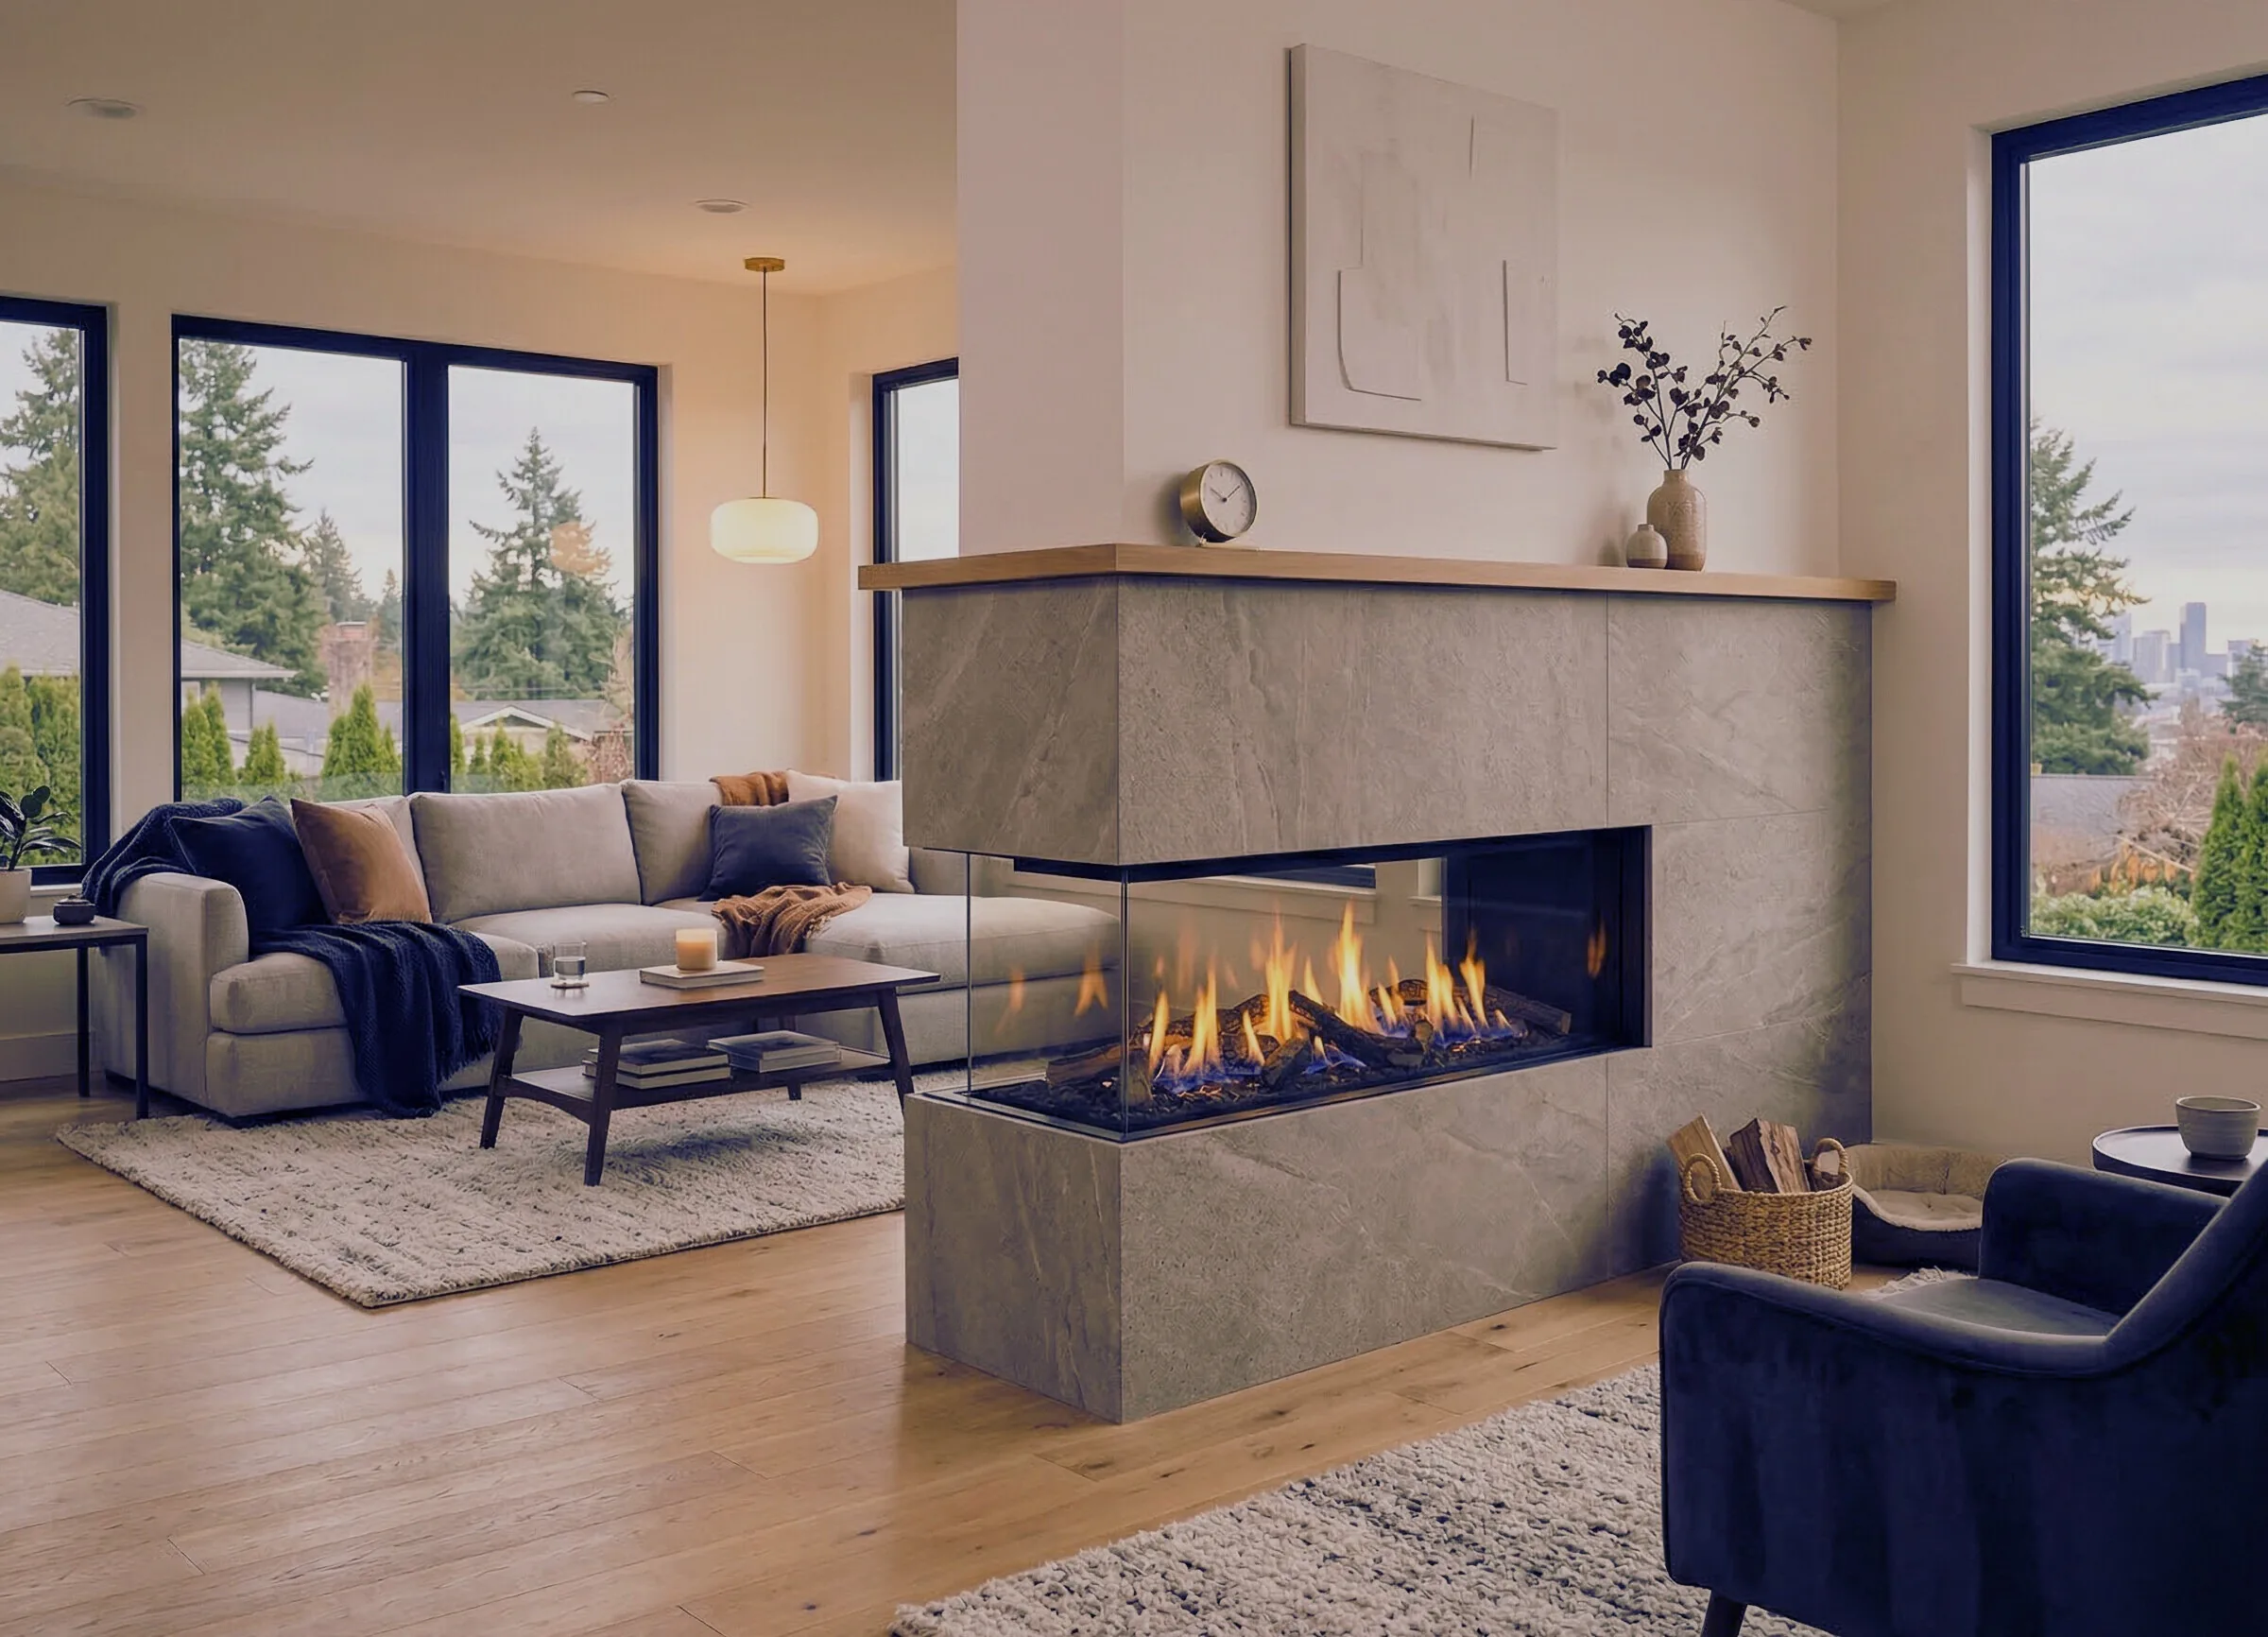
Seattle has always been a fireplace city. The long, gray winters practically demand something glowing in the living room, and the housing stock — Craftsman bungalows in Ballard, Tudors in Ravenna, mid-century ranches in Shoreline — almost universally came with wood-burning fireplaces. But a growing number of homeowners across King and Pierce counties are making the switch from wood to gas, and for good reason.
Air quality is the biggest driver. The Puget Sound Clean Air Agency has tightened wood-burning regulations significantly. During air quality burn bans — which happen multiple times each winter when inversions trap smoke in the lowlands — you cannot legally use your wood fireplace at all. Gas fireplaces are exempt from burn bans because they produce almost no particulate matter. That means a gas conversion turns your fireplace from a sometimes amenity into an every-night one.
Convenience is close behind. No splitting, stacking, or drying firewood. No hauling ashes. No waiting 45 minutes for a fire to establish. With gas, you flip a switch or press a remote and have a full flame in seconds. For busy families in neighborhoods like Queen Anne, Capitol Hill, and Mercer Island, that convenience alone justifies the investment.
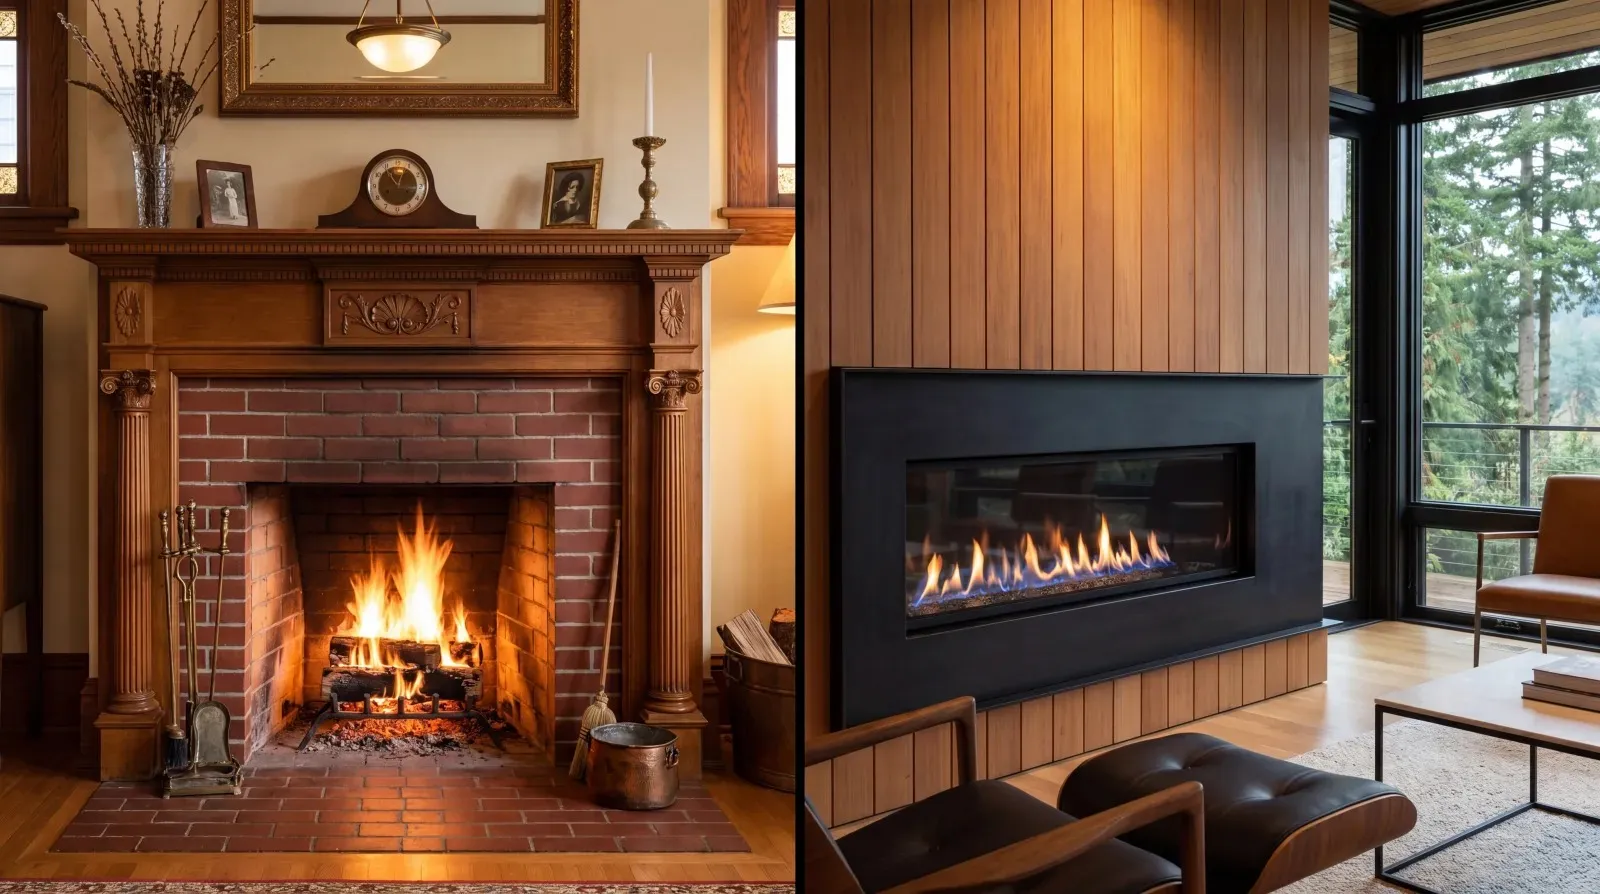
Other reasons we hear regularly: lower home insurance premiums (no creosote fire risk), less chimney sweeping needed, better zone heating efficiency, and the fact that modern gas inserts look remarkably realistic — far from the blue-flame tubes of the 1990s.
Three Ways to Convert: Gas Inserts vs. Gas Log Sets vs. Built-In Units
Not all gas conversions are created equal. The right option depends on your existing fireplace, your budget, and how much heat output you actually want. Here's how the three main approaches compare:
Gas Log Set (Ventless or Vented)
A gas log set is the simplest conversion. Ceramic or refractory cement logs sit on a burner that connects to a gas line. The logs go directly into your existing firebox, and the damper stays open (vented) or can be partially closed (ventless/vent-free). This is the most affordable option, but it produces the least heat and the least realistic flame pattern.
- Cost: $800 - $2,500 installed
- Best for: Homeowners who want ambiance on a budget and plan to keep the existing firebox
- Heat output: 10,000 - 30,000 BTU (moderate)
Gas Fireplace Insert (Direct Vent)
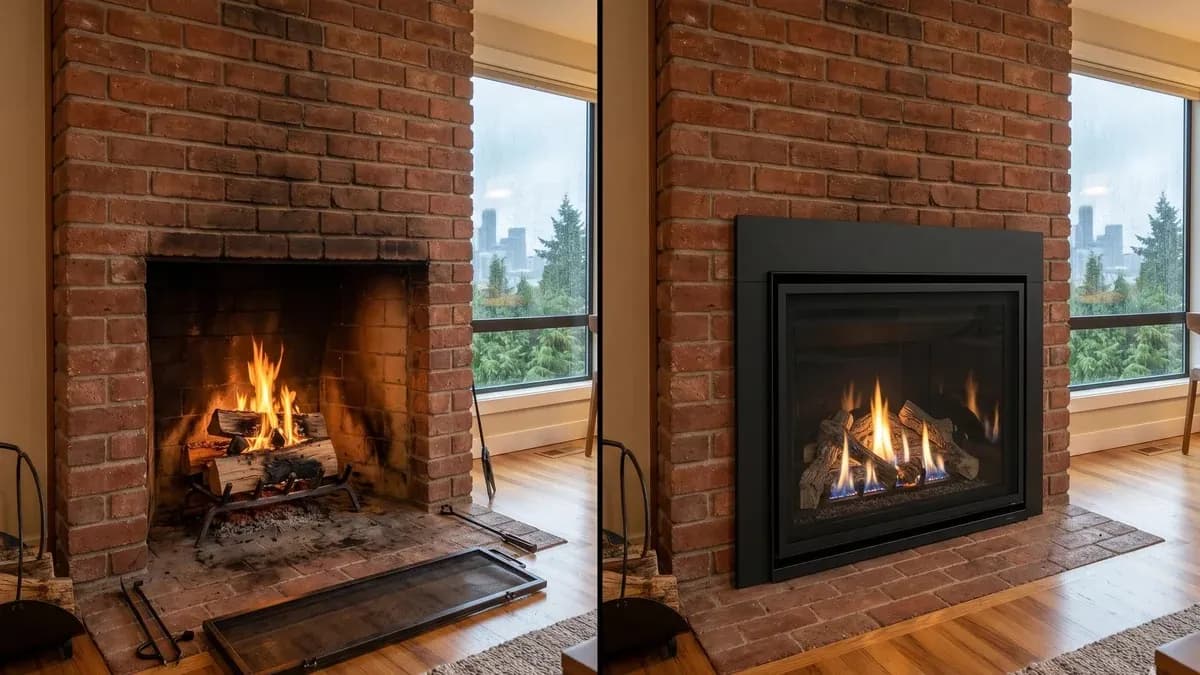
An insert is a self-contained, sealed combustion unit that slides into your existing masonry firebox. It has its own glass front, its own venting (a coaxial liner goes up the existing chimney), and its own blower fan. This is the most popular conversion type in Seattle because it delivers serious heat — 25,000 to 40,000 BTU — while being completely sealed from indoor air. No drafts, no indoor air quality impact, no moisture problems.
- Cost: $3,500 - $7,000 installed (including liner)
- Best for: Homeowners who want real supplemental heat and high efficiency (70-85%)
- Heat output: 25,000 - 40,000 BTU (can heat 1,000-2,000 sq ft)
Built-In Gas Fireplace (New Construction)
If your existing masonry firebox is damaged beyond repair, or you want a modern linear (ribbon) flame style, a built-in unit replaces the entire firebox. This involves framing, venting through the wall or roof, and often cosmetic work (mantel, surround, hearth). It's the most expensive option but gives you complete design freedom.
- Cost: $5,000 - $10,000+ installed
- Best for: Remodels, damaged fireplaces, or homeowners who want a contemporary look
- Heat output: 20,000 - 60,000 BTU (varies widely by model)
For most Seattle homeowners converting an existing wood fireplace, a direct-vent gas insert is the sweet spot. It fits the existing opening, uses the existing chimney for venting, and delivers the best combination of heat, efficiency, and safety. For more on inserts vs. full replacements, see our detailed insert vs. new fireplace comparison.
Complete Cost Breakdown: Wood-to-Gas Conversion in Seattle (2026)
Here's what each component of a typical conversion costs in the Seattle metro area. Prices reflect our 2026 installed rates and include labor, permits, and basic finishing.
| Component | Cost Range | Notes |
|---|---|---|
| Gas log set (vented) | $800 - $1,800 | Logs + burner + valve, installed |
| Gas log set (ventless/vent-free) | $1,000 - $2,500 | Includes ODS safety pilot; check local codes |
| Direct-vent gas insert (unit only) | $2,000 - $4,500 | Brands: Napoleon, Regency, Valor, Mendota |
| Insert installation labor | $800 - $1,500 | Fitting, sealing, electrical, testing |
| Coaxial vent liner (for insert) | $500 - $1,200 | Length depends on chimney height |
| New gas line run (if needed) | $500 - $2,000 | Distance from existing gas line to fireplace |
| Gas line connection (existing nearby) | $200 - $500 | Tap off existing line within 10 feet |
| Electrical outlet (for blower/ignition) | $150 - $400 | Required for most inserts |
| Surround / trim kit | $200 - $800 | Covers gap between insert and masonry opening |
| Permits (City of Seattle / King County) | $100 - $350 | Mechanical/gas permit required |
Total Project Costs by Conversion Type
| Conversion Type | Total Installed Cost |
|---|---|
| Gas log set (existing gas line nearby) | $1,200 - $2,500 |
| Gas log set (new gas line needed) | $2,000 - $4,000 |
| Direct-vent gas insert (existing gas line) | $3,500 - $6,000 |
| Direct-vent gas insert (new gas line) | $4,500 - $8,000 |
| Built-in gas fireplace (full remodel) | $5,000 - $10,000+ |
Most Seattle homeowners spend $4,000 - $6,500 on a direct-vent insert conversion with an existing gas line in the room. If a new gas line needs to be run from the meter or basement, add $500 - $2,000 depending on distance and routing complexity.
Gas Line Requirements: What You Need to Know
The gas line is often the wildcard in conversion pricing. Some homes already have a gas stub near the fireplace (especially if the home has gas heating or a gas range), while others need a new line run from the meter. Here's what determines cost:
Existing Gas Line Nearby (Within 10 Feet)
If there's a gas line in the same room or an adjacent wall — common in homes with gas furnaces in Seattle's Wallingford, Green Lake, and Fremont neighborhoods — a licensed plumber or gas fitter can tap off the existing line and run a short branch to the fireplace. Cost: $200 - $500. This is the best-case scenario and keeps total project cost at the low end of the range.
New Gas Line Required (From Meter or Basement)
If the nearest gas line is in the basement, crawlspace, or at the exterior meter, a new dedicated line must be run. This involves sizing the line for the BTU load of the new appliance (plus everything else on the system), drilling through framing, and connecting at both ends. Cost: $500 - $2,000 depending on routing distance and whether the work is through finished walls or exposed framing.
Gas Meter Upgrade
In rare cases — usually older homes in the Magnolia or Beacon Hill neighborhoods with undersized meters — Puget Sound Energy (PSE) may need to upgrade the gas meter to handle the additional load. PSE handles this at no cost to the homeowner, but it can add 2-4 weeks to the project timeline while they schedule the swap.
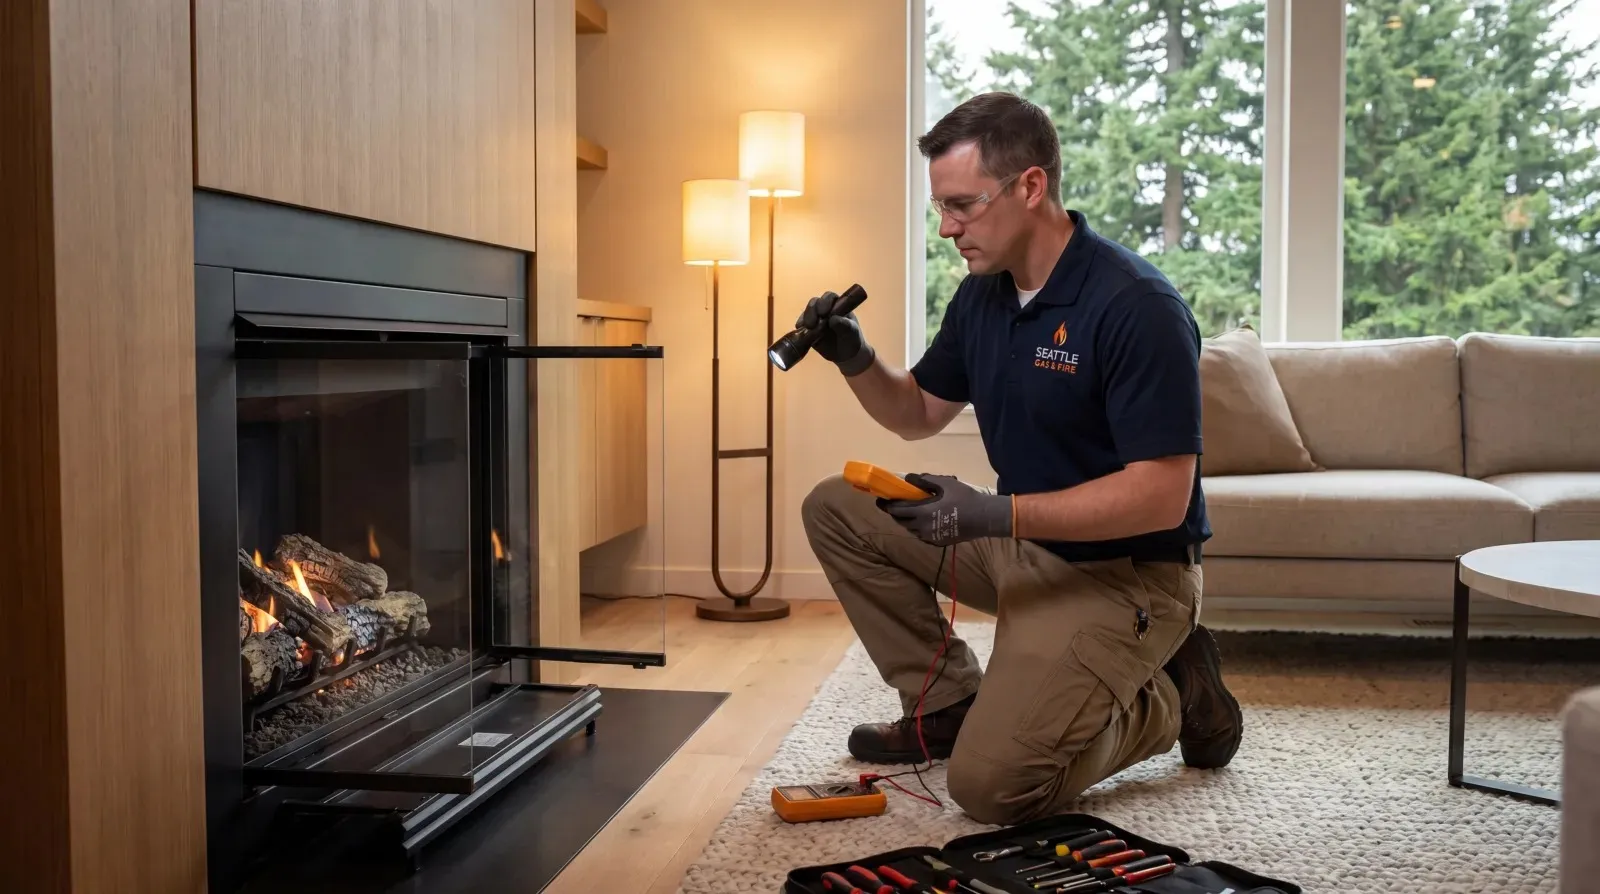
Important: All gas work in Washington State must be performed by a licensed contractor and inspected by the local jurisdiction. We coordinate the entire process — gas line, permit, inspection — so you don't have to manage multiple contractors.
Venting Options: Direct Vent vs. B-Vent vs. Vent-Free
Venting is critical for safety, efficiency, and code compliance. Here's how each option works and which is best for Seattle's climate:
Direct Vent (Coaxial Liner)
A direct-vent system uses a pipe-within-a-pipe: the inner pipe exhausts combustion gases out, and the outer pipe draws fresh combustion air in from outside. The firebox is completely sealed from your living space — no indoor air is used for combustion, and no exhaust gases can enter your home.
- Pros: Safest option, highest efficiency (70-85%), no indoor air quality impact, works during burn bans, no drafting issues
- Cons: Requires coaxial liner up chimney or through wall, slightly higher install cost
- Best for: Most Seattle conversions — especially in newer, tighter homes where indoor air quality matters
B-Vent (Natural Draft)
A B-vent system uses a single metal liner up the existing chimney. It draws combustion air from the room and exhausts gases through the flue. This is simpler and cheaper to install but less efficient because heated room air goes up the chimney.
- Pros: Lower install cost, works with most existing chimneys, good flame appearance
- Cons: Uses indoor air (can cause negative pressure issues), less efficient (50-65%), requires functioning chimney draft
- Best for: Older, draftier homes where sealed combustion isn't critical; budget-conscious projects
Vent-Free (Ventless)
Vent-free appliances burn gas so cleanly that they exhaust directly into the room — no chimney or vent pipe needed. However, they add moisture and combustion byproducts to indoor air.
- Pros: No venting needed, 99% efficiency (all heat stays in room), cheapest to install
- Cons: Adds moisture to indoor air (a real problem in Seattle's already-humid climate), some municipalities restrict or ban them, potential indoor air quality concerns, limited BTU output
- Best for: Supplemental heat in well-ventilated spaces only — we generally do not recommend vent-free units in Seattle homes because our high ambient humidity makes the moisture output problematic (condensation on windows, mold potential in poorly ventilated rooms)
For a deeper comparison of gas versus wood-burning performance, check our guide to gas vs. wood fireplaces in Seattle.
Permits, Codes, and Inspections in Washington State
A wood-to-gas conversion is not a plug-and-play project. Washington State and local jurisdictions require permits and inspections for gas work. Here's what's involved:
Permits Required
- Mechanical/gas permit — Required by the City of Seattle, Bellevue, Tacoma, and all King/Pierce County jurisdictions for any new gas appliance installation or gas line work. Cost: $100 - $350.
- Electrical permit — Sometimes required if new wiring is run for the blower or ignition system. Cost: $75 - $150.
- Building permit — Only needed if you're modifying the structure (new chase, wall penetration for direct-vent through-wall install). Rare for standard insert conversions.
Inspections
After installation, a city or county inspector will verify:
- Gas line pressure test (holds at proper PSI with no leaks)
- Proper venting termination (clearances from windows, doors, air intakes)
- Appliance is listed (UL, CSA, or ANSI certified) and installed per manufacturer specs
- Carbon monoxide detector is installed in the room (Washington State law for all homes with gas appliances)
Burn Ban Exemption
Once your gas appliance is installed, you are exempt from all Puget Sound Clean Air Agency burn bans. Wood fireplaces, wood stoves, and pellet stoves are subject to Stage 1 and Stage 2 burn bans, but gas appliances are not. This alone makes the conversion worthwhile for many homeowners who rely on their fireplace for heat during cold snaps that coincide with inversions.
We handle all permitting and schedule inspections as part of every conversion project — you don't need to visit the permit office or coordinate with inspectors yourself.
Timeline: How Long Does a Wood-to-Gas Conversion Take?
From your first call to the finished fire, here's a realistic timeline for each conversion type in the Seattle market:
Gas Log Set (Simplest)
- Consultation + sizing: 1 visit (same day as install if straightforward)
- Gas line work (if needed): 1 day
- Installation: 2-4 hours
- Total: 1-3 days from first call
Direct-Vent Gas Insert (Most Common)
- In-home consultation + measurement: 1 visit
- Insert ordering: 1-3 weeks (most brands have Seattle-area distributors with stock; custom orders take 4-6 weeks)
- Gas line work (if needed): 1 day
- Installation + liner: 1 day (4-8 hours)
- Permit inspection: 1-5 business days after install (varies by jurisdiction)
- Total: 2-5 weeks from first call
Built-In / Full Remodel
- Design + permitting: 2-4 weeks
- Construction: 3-7 days
- Inspection: 1-5 business days
- Total: 4-8 weeks from first call
The most common delay is insert availability. We stock popular models from Napoleon, Regency, and Valor, but specialty sizes or finishes may require ordering. We recommend starting the process in late summer or early fall — by October, lead times extend as demand surges and the best installation windows fill up.
Pros and Cons of Keeping the Wood-Burning Option
Some homeowners ask whether they can convert to gas and still burn wood occasionally. The answer depends on the conversion type:
Gas Log Set: Wood Option Preserved (Sort Of)
Because a gas log set sits inside your existing firebox, you can technically remove it and burn wood again. However, this is impractical — removing and reinstalling the gas log set, disconnecting/reconnecting the gas line, and verifying the damper every time is cumbersome and potentially unsafe. In practice, homeowners who install gas logs never go back to wood.
Gas Insert: Wood Option Eliminated
A gas insert fills the firebox opening with a sealed unit. The existing damper is permanently fixed open (for the vent liner), and the masonry firebox is no longer accessible for wood fires. If you remove the insert later, you'd need a full chimney inspection and potentially relining before burning wood again.
Should You Keep the Wood Option?
Here's our honest assessment after performing hundreds of conversions across Seattle:
- If you burn wood more than 10 times per year — consider keeping both. Some homeowners install gas in a primary fireplace and keep a second fireplace (or outdoor fire pit) for occasional wood fires.
- If you burn wood 1-5 times per year — convert. You'll use the gas fireplace 50-100 times per season instead of 5 wood fires, and you'll appreciate the convenience every single time.
- If you never burn wood anymore — convert without hesitation. A dormant wood fireplace is just a source of drafts, heat loss, and chimney maintenance cost.
For homeowners still weighing the decision, our gas vs. wood fireplace guide covers efficiency, emissions, cost-per-use, and resale value in detail.
Choosing the Right Gas Insert for Seattle Homes
The Pacific Northwest market has specific needs — high heat output for damp cold, realistic flame aesthetics for living rooms that see heavy use, and sealed combustion for tight, well-insulated newer construction. Here are the brands and features our installation team recommends most often:
Top Insert Brands for Seattle
- Napoleon GDI-30 — Excellent mid-range option, 30,000 BTU, clean glass system, remote included. $2,200 - $3,000 for the unit.
- Regency Liberty LRI6E — Large viewing area, up to 40,000 BTU, ideal for Craftsman-style mantels. $2,800 - $3,800.
- Valor H5 Series — Premium radiant and convective heat, no electricity required (operates during power outages — a real advantage in Seattle). $3,500 - $4,500.
- Mendota FV44i — Top-tier realism with ceramic fiber logs and ember bed, 42,000 BTU, best-in-class flame. $4,000 - $5,500.
Features That Matter in Seattle
- Battery backup or millivolt ignition — Seattle loses power during windstorms. A fireplace that works without electricity is a genuine safety feature, not a luxury.
- High BTU output — Our damp 35-45°F winters feel colder than the temperature suggests. Aim for 30,000+ BTU for primary living spaces.
- Sealed combustion (direct vent) — Keeps Seattle's moisture out of your home and combustion gases out of your living space.
- Quality glass and air-wash system — Prevents fogging and soot buildup on the glass, which is more common in humid climates.
Visit our gas fireplace services page for more on installation, repair, and annual maintenance.
Ready to Convert? Here's How to Get Started
Seattle Chimney Pros has performed hundreds of wood-to-gas conversions since 2011. We handle every aspect — from the initial in-home consultation and insert selection to gas line work, installation, permitting, and final inspection. No subcontractors, no finger-pointing between trades.
Here's how the process works:
- Free in-home consultation: We measure your firebox, assess the chimney condition, check gas line proximity, and discuss your goals (heat output, aesthetics, budget).
- Written proposal: You receive a detailed quote within 24 hours — itemized by component (unit, liner, gas line, labor, permits, trim).
- Scheduling: Once you approve, we order the insert (if needed) and schedule installation, usually within 2-3 weeks.
- Installation day: Our crew handles everything in a single day for most insert conversions.
- Inspection + walkthrough: We schedule the permit inspection and walk you through operation, maintenance, and your warranty.
Call (253) 429-8006 or request a free consultation online. Whether you want a simple gas log set or a high-output direct-vent insert, we'll help you find the right solution for your home, your budget, and Seattle's unique climate.
Need professional help?
Our professionally trained team is ready. Free estimate, 30-minute response.