Chimney Damper Stuck? How to Fix It in Seattle (2026 Guide)
What to Do When Your Chimney Damper Is Stuck in Seattle
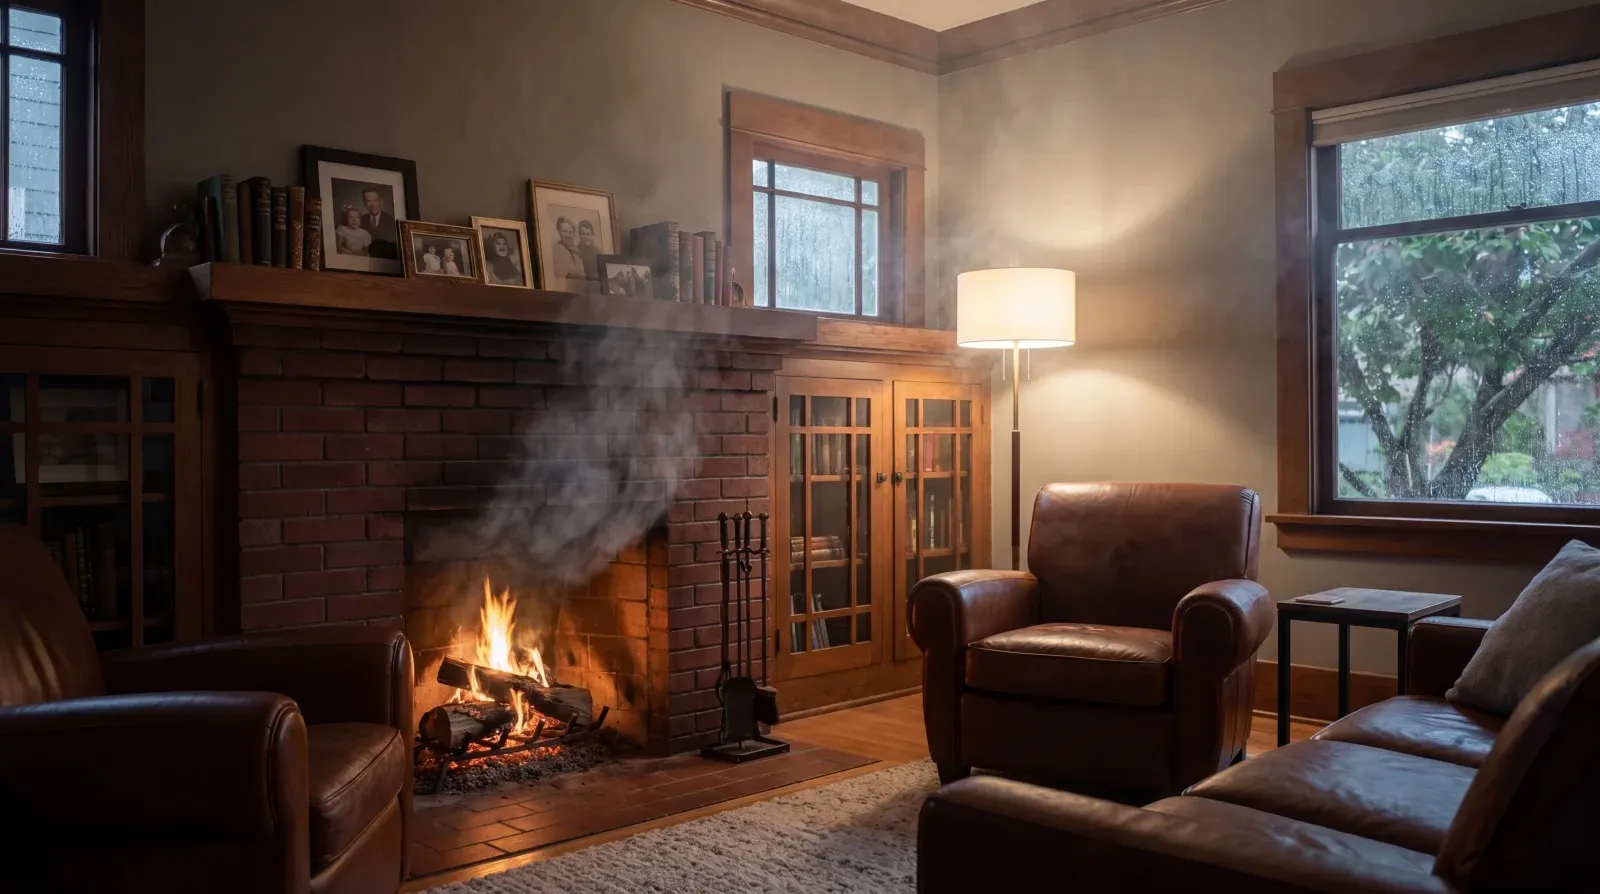
A stuck chimney damper in Seattle typically costs $150–$350 to repair or $350–$800 to replace with a top-sealing upgrade, and most jobs are completed in a single service visit. Based on over 340 damper-related calls our team handled across the Seattle metro area in 2025, rust and creosote buildup account for roughly 75% of all stuck-damper cases — both of which are direct products of our region's wet climate and heavy heating season. If your damper won't open, do not light a fire under any circumstances; smoke backup and carbon monoxide exposure are immediate risks. If it's stuck open, the problem is less urgent but still worth fixing before fall 2026. Current as of June 2026.
A Real Stuck-Damper Call: Marcus T. in Greenwood
Last February, Marcus T. noticed something wrong the moment he tried to use his Greenwood craftsman's fireplace for the first time in two years. He pushed the damper handle forward — it budged about half an inch, then stopped cold. A quick search for 'chimney damper stuck Seattle' brought him to our scheduling page.
Carlos arrived the next morning. Standing at the firebox with a flashlight angled up the flue, he identified the problem within two minutes: a combination of heavy rust on the pivot hinge and a quarter-inch of hardened creosote had essentially welded the damper plate in place. The throat damper — a cast iron model original to the home's 1947 construction — had never been lubricated and hadn't been swept in at least three years.
'That hinge is basically fused. You can see the rust has bridged the gap between the pivot pin and the frame — the creosote on top just finished the job. We can free this one with penetrating oil and a brush, but the plate itself has some warping from heat stress. I'd recommend we free it today, sweep the flue, and then talk about a top-sealing replacement before next winter.'
— Carlos, Chimney Technician, Seattle Chimney Pros
Carlos applied PB Blaster to the hinge, let it soak for 20 minutes, then worked the plate loose with controlled pressure and a scraper. After a full chimney sweep to clear the flue of creosote, the damper was operational — though Marcus opted for the top-sealing damper upgrade at the same visit. Total cost: $289 for the sweep and damper repair, plus $485 for the top-sealing installation. 'I had no idea something that small could be that big a problem,' Marcus said. 'Carlos explained everything as he went — I actually understood what I was paying for.'
What Type of Damper Do You Have — and Why Does It Matter?
Identifying your damper type before troubleshooting saves time and prevents accidental damage. Most Seattle homes built before 1990 have throat dampers; newer or recently renovated homes may already have top-sealing units installed.
| Damper Type | Location | Operation | Common in Seattle | Typical Lifespan |
|---|---|---|---|---|
| Throat damper | Just above firebox | Lever or handle in firebox | Very common (pre-1990 homes) | 30–50+ years |
| Top-sealing damper | Top of chimney | Cable pull from firebox | Common in renovated homes | 20–30 years |
| Gate damper | Above firebox | Slides horizontally | Rare (pre-1940 homes) | 40–60+ years |
| Poker damper | Above firebox | Rotated rod | Uncommon | 25–40 years |
This guide focuses primarily on throat dampers, which represent about 80% of the stuck-damper calls we receive across Seattle and surrounding neighborhoods.
What Are the Most Common Reasons a Chimney Damper Gets Stuck?
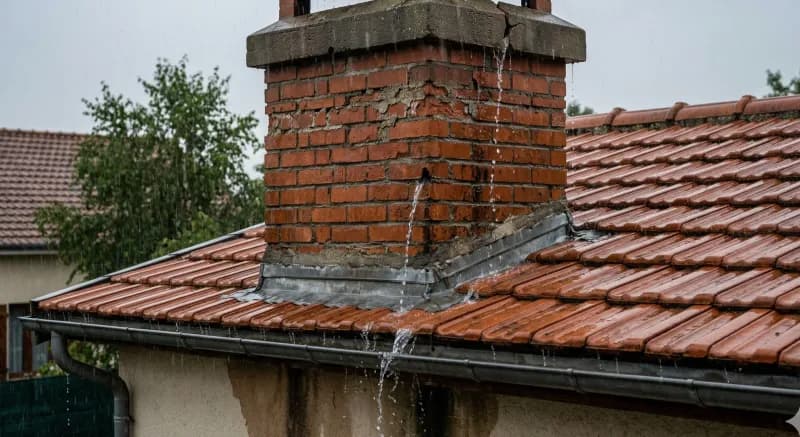
In Seattle's climate, moisture is the root cause behind most stuck dampers — directly through rust and indirectly by accelerating creosote hardening. Here are the five causes our technicians see most often, in order of frequency.
- Rust and corrosion (most common — ~45% of cases): Rain infiltration through a damaged cap or cracked crown reaches the throat damper and oxidizes the cast iron hinge mechanism over months and years.
- Creosote buildup (~30% of cases): Tar-like creosote coats the damper plate and pivot points, especially after two or more seasons without a professional sweep.
- Warped damper plate (~12% of cases): Repeated high-heat fires or a past chimney fire can warp the plate so it no longer clears its frame, regardless of whether the hinge works.
- Broken or disconnected handle (~8%): The lever or steel rod connecting the handle to the damper plate snaps or works loose — the plate may actually be free but the mechanism to move it is broken.
- Debris blockage (~5%): Bird nests, fallen mortar, or compacted leaves wedge between the damper plate and its frame. We see this most in Ballard and other tree-canopy-heavy neighborhoods.
Is It Safe to Use a Fireplace With a Stuck Damper?
If the damper is stuck closed, the answer is an unqualified no — do not light a fire until the damper is repaired or replaced. Smoke and carbon monoxide will back into the living space within minutes. If the damper is stuck open, the fireplace is safe to use but you are losing conditioned air up the flue continuously, which typically costs $50–$200 per year in wasted heating or cooling depending on your Seattle home's size and how well-sealed the firebox is otherwise. Neither situation should be left unaddressed heading into fall 2026.
How Do You Fix a Stuck Chimney Damper Yourself?
Two DIY approaches work for the most common causes. Attempt these only when the fireplace has been cold for at least 48 hours and you have proper safety gear (dust mask rated N95 or better, safety glasses, gloves). Place a tarp inside the firebox to catch debris before you begin.
Method 1 — Penetrating Oil (for rust):
- Shine a flashlight up into the firebox throat to locate the damper hinge points on both sides of the plate.
- Spray PB Blaster or a similar penetrating oil directly onto both hinge pivot points — use an extension straw for accuracy.
- Wait 20–30 minutes without touching the damper. The oil needs time to wick into corroded gaps.
- Apply gentle, steady pressure to the damper handle — do not jerk or force it. If it moves even slightly, work it slowly back and forth to break up oxidation.
- Repeat the oil application and wait cycle up to three times if movement is minimal.
Method 2 — Mechanical Cleaning (for creosote):
- Use a shop vac to remove loose debris from around the damper plate and throat area.
- With a stiff wire brush, scrub the visible face of the damper plate and the channel it seats into.
- Use a plastic or wooden scraper (not metal, to avoid damaging the seat) to chip away hardened creosote from the hinge zone.
- Vacuum debris continuously as you work to prevent it from falling into the firebox.
- Test the handle after clearing visible buildup.
If neither method produces movement after three attempts, stop. Continued force risks bending the handle mechanism or cracking a warped plate further. At this point, a professional chimney repair visit is the right call.
What Does Professional Damper Repair or Replacement Cost in Seattle?
Based on damper jobs our team completed across the Seattle metro area in 2025, here is what homeowners actually paid at each service level.
| Service | What's Included | Typical Cost Range | Time to Complete |
|---|---|---|---|
| Damper repair (clean + lubricate) | Penetrating oil, wire brush cleaning, high-temp grease applied to hinge | $150–$350 | 45–90 min |
| Repair + sweep combo | Above plus full flue cleaning and Level 1 inspection | $269–$449 | 90–150 min |
| Throat damper replacement | Like-for-like cast iron damper, labor included | $200–$600 | 2–3 hours |
| Top-sealing damper upgrade | Cap-and-seal unit installed at chimney crown, cable rigged to firebox | $350–$800 | 2–4 hours |
| Integrated cap + top-sealing damper | Rain cap, animal barrier, and energy-sealing gasket in one unit | $500–$1,000 | 3–5 hours |
Most Seattle homeowners who contact us about a stuck throat damper end up choosing the top-sealing upgrade — the energy savings (typically $75–$175 per year on heating costs) repay the additional cost within three to five years, and the rubber gasket seal prevents the moisture intrusion that caused the original failure. Ask about our chimney cap installation add-on, which many homeowners bundle with the top-sealing damper for a single service visit.
When Should You Call a Professional Instead of Attempting DIY?
Some damper problems are genuinely DIY-friendly. Others look simple but involve structural or safety issues that a homeowner cannot safely assess from inside the firebox. Call a professional immediately if any of the following apply.
- The damper plate is visibly bent, cracked, or no longer sits flat in its frame — this indicates heat warping that DIY cleaning cannot fix.
- The handle or lever mechanism is broken or has disconnected from the plate — operating a disconnected mechanism can drop the plate into the firebox.
- You see or hear debris falling when you attempt to move the damper (fallen mortar, masonry, or animal nesting material suggests a structural problem above).
- Your DIY attempts have produced no movement after three full penetrating-oil cycles — forcing further risks permanent damage.
- You smell a strong ammonia or organic odor near the firebox — this signals animal nesting material, which requires professional removal and sanitization before any chimney work.
- Your chimney has not had a professional inspection in more than three years — a stuck damper is often a symptom, not the root cause.
How Do You Prevent a Chimney Damper From Getting Stuck Again?
The same Seattle rain that makes our summers beautiful is the primary enemy of your damper's longevity. These four habits will keep your damper operating for decades.
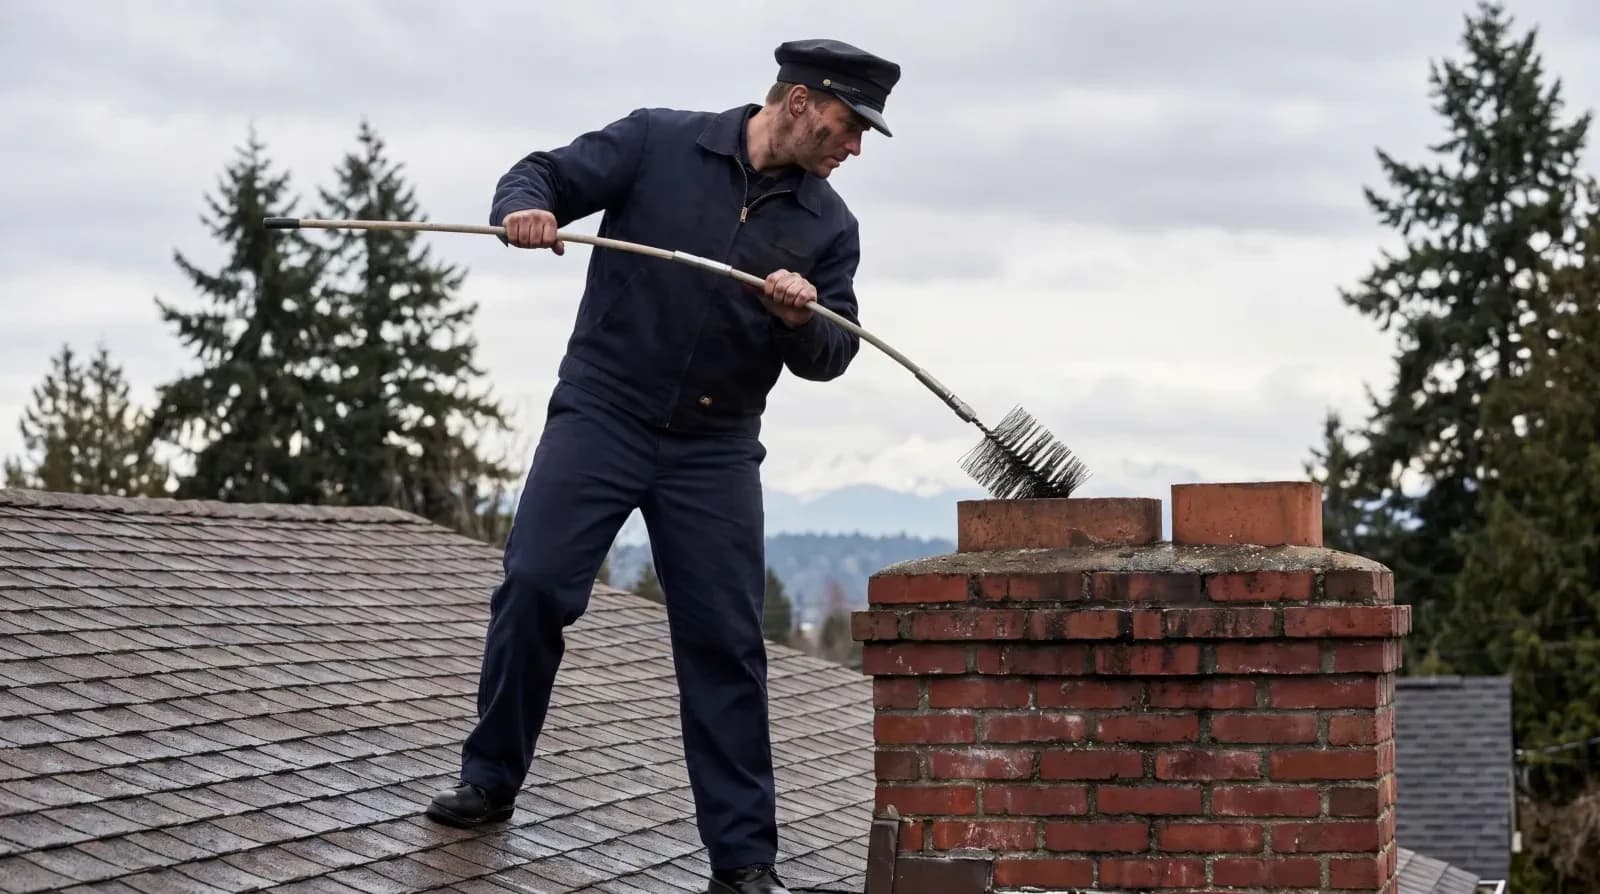
- Annual professional sweep: A chimney sweep removes creosote before it hardens around the hinge mechanism and includes lubrication of the damper pivot points with high-temperature grease (500°F+ rated). WD-40 applied by homeowners burns off within the first fire — proper high-temp grease does not. Learn more about how often Seattle chimneys need sweeping.
- Functional chimney cap: A properly fitted cap prevents rain from landing directly on the throat damper and eliminates the moisture cycle that drives rust. If your cap is missing, damaged, or undersized, the damper will rust again within one to two seasons regardless of how well it was repaired. See our chimney cap installation service.
- Address water intrusion early: Efflorescence (white mineral staining) on the firebox interior, rust staining on the firebox floor, or a musty smell from the fireplace are all early warning signs of water reaching the damper zone. Read our chimney leak diagnosis guide for next steps.
- Regular operation: Dampers that are left in one position for multiple seasons corrode faster than those that are moved regularly. If you use your fireplace seasonally, open and close the damper a few times during the off-season to work the hinge mechanism.
Ready to Fix Your Stuck Damper? Here's What to Do Next
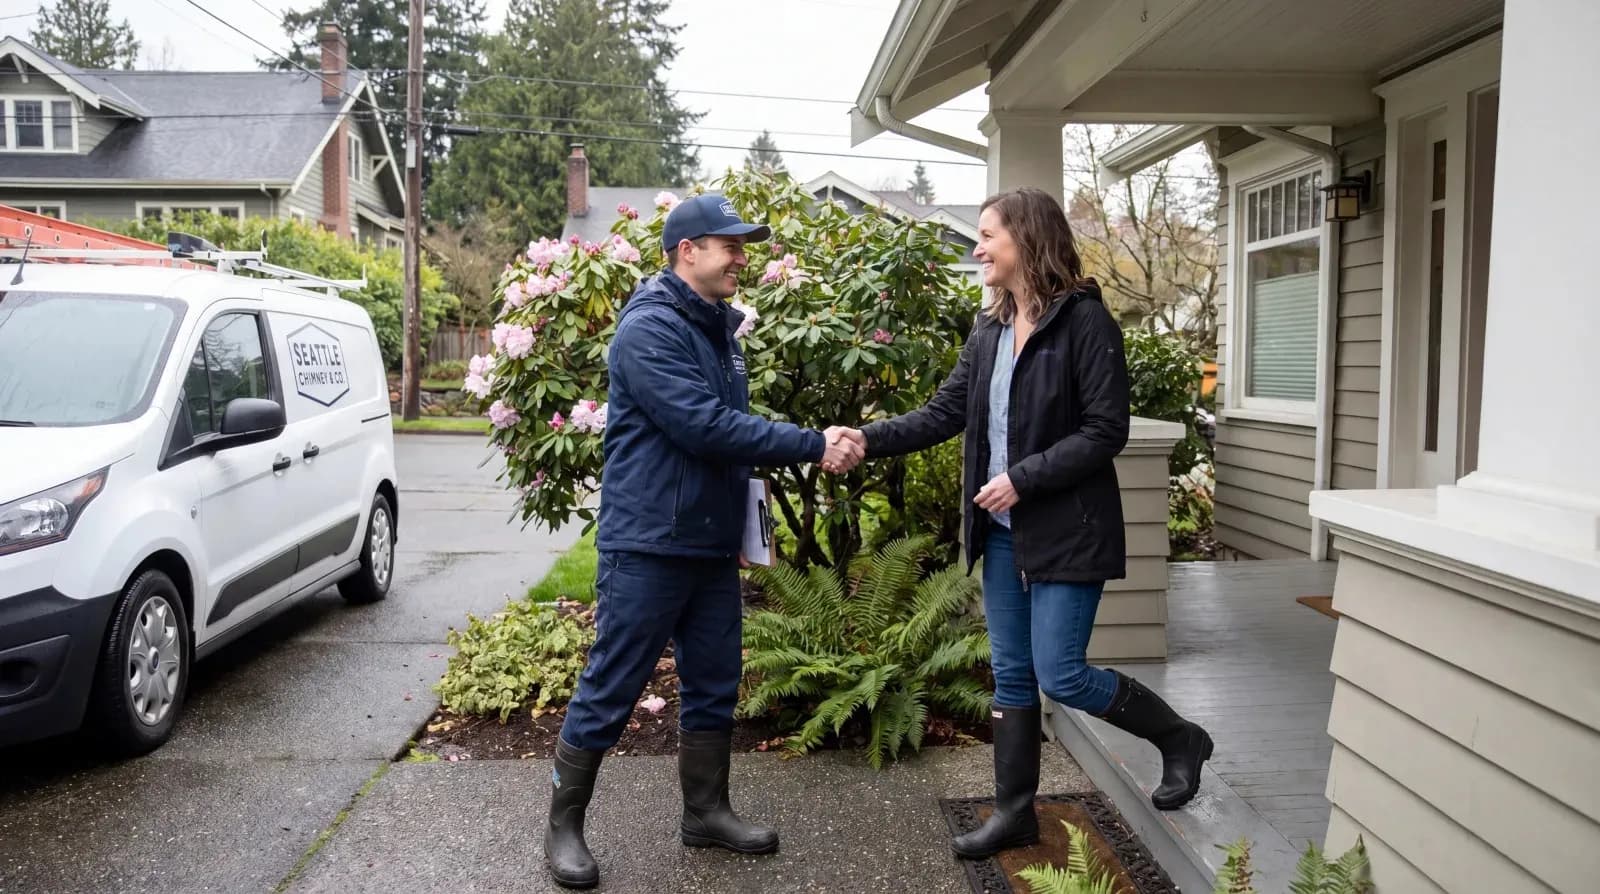
If your damper is stuck closed, treat it as an urgent repair — do not use the fireplace until it is resolved. If it is stuck open, schedule a repair before the 2026–2027 heating season to stop wasting heated air. Most stuck dampers in Seattle are resolved in a single visit, and many homeowners choose to bundle the repair with an annual sweep for the best value. Call us at (253) 429-8006 or request service online — we serve the full Seattle metro area, typically with same-day or next-day availability.
Need professional help?
Our professionally trained team is ready. Free estimate, 30-minute response.