How to Make Your Fireplace More Efficient (10 Proven Upgrades)
Why Most Fireplaces Are Terribly Inefficient
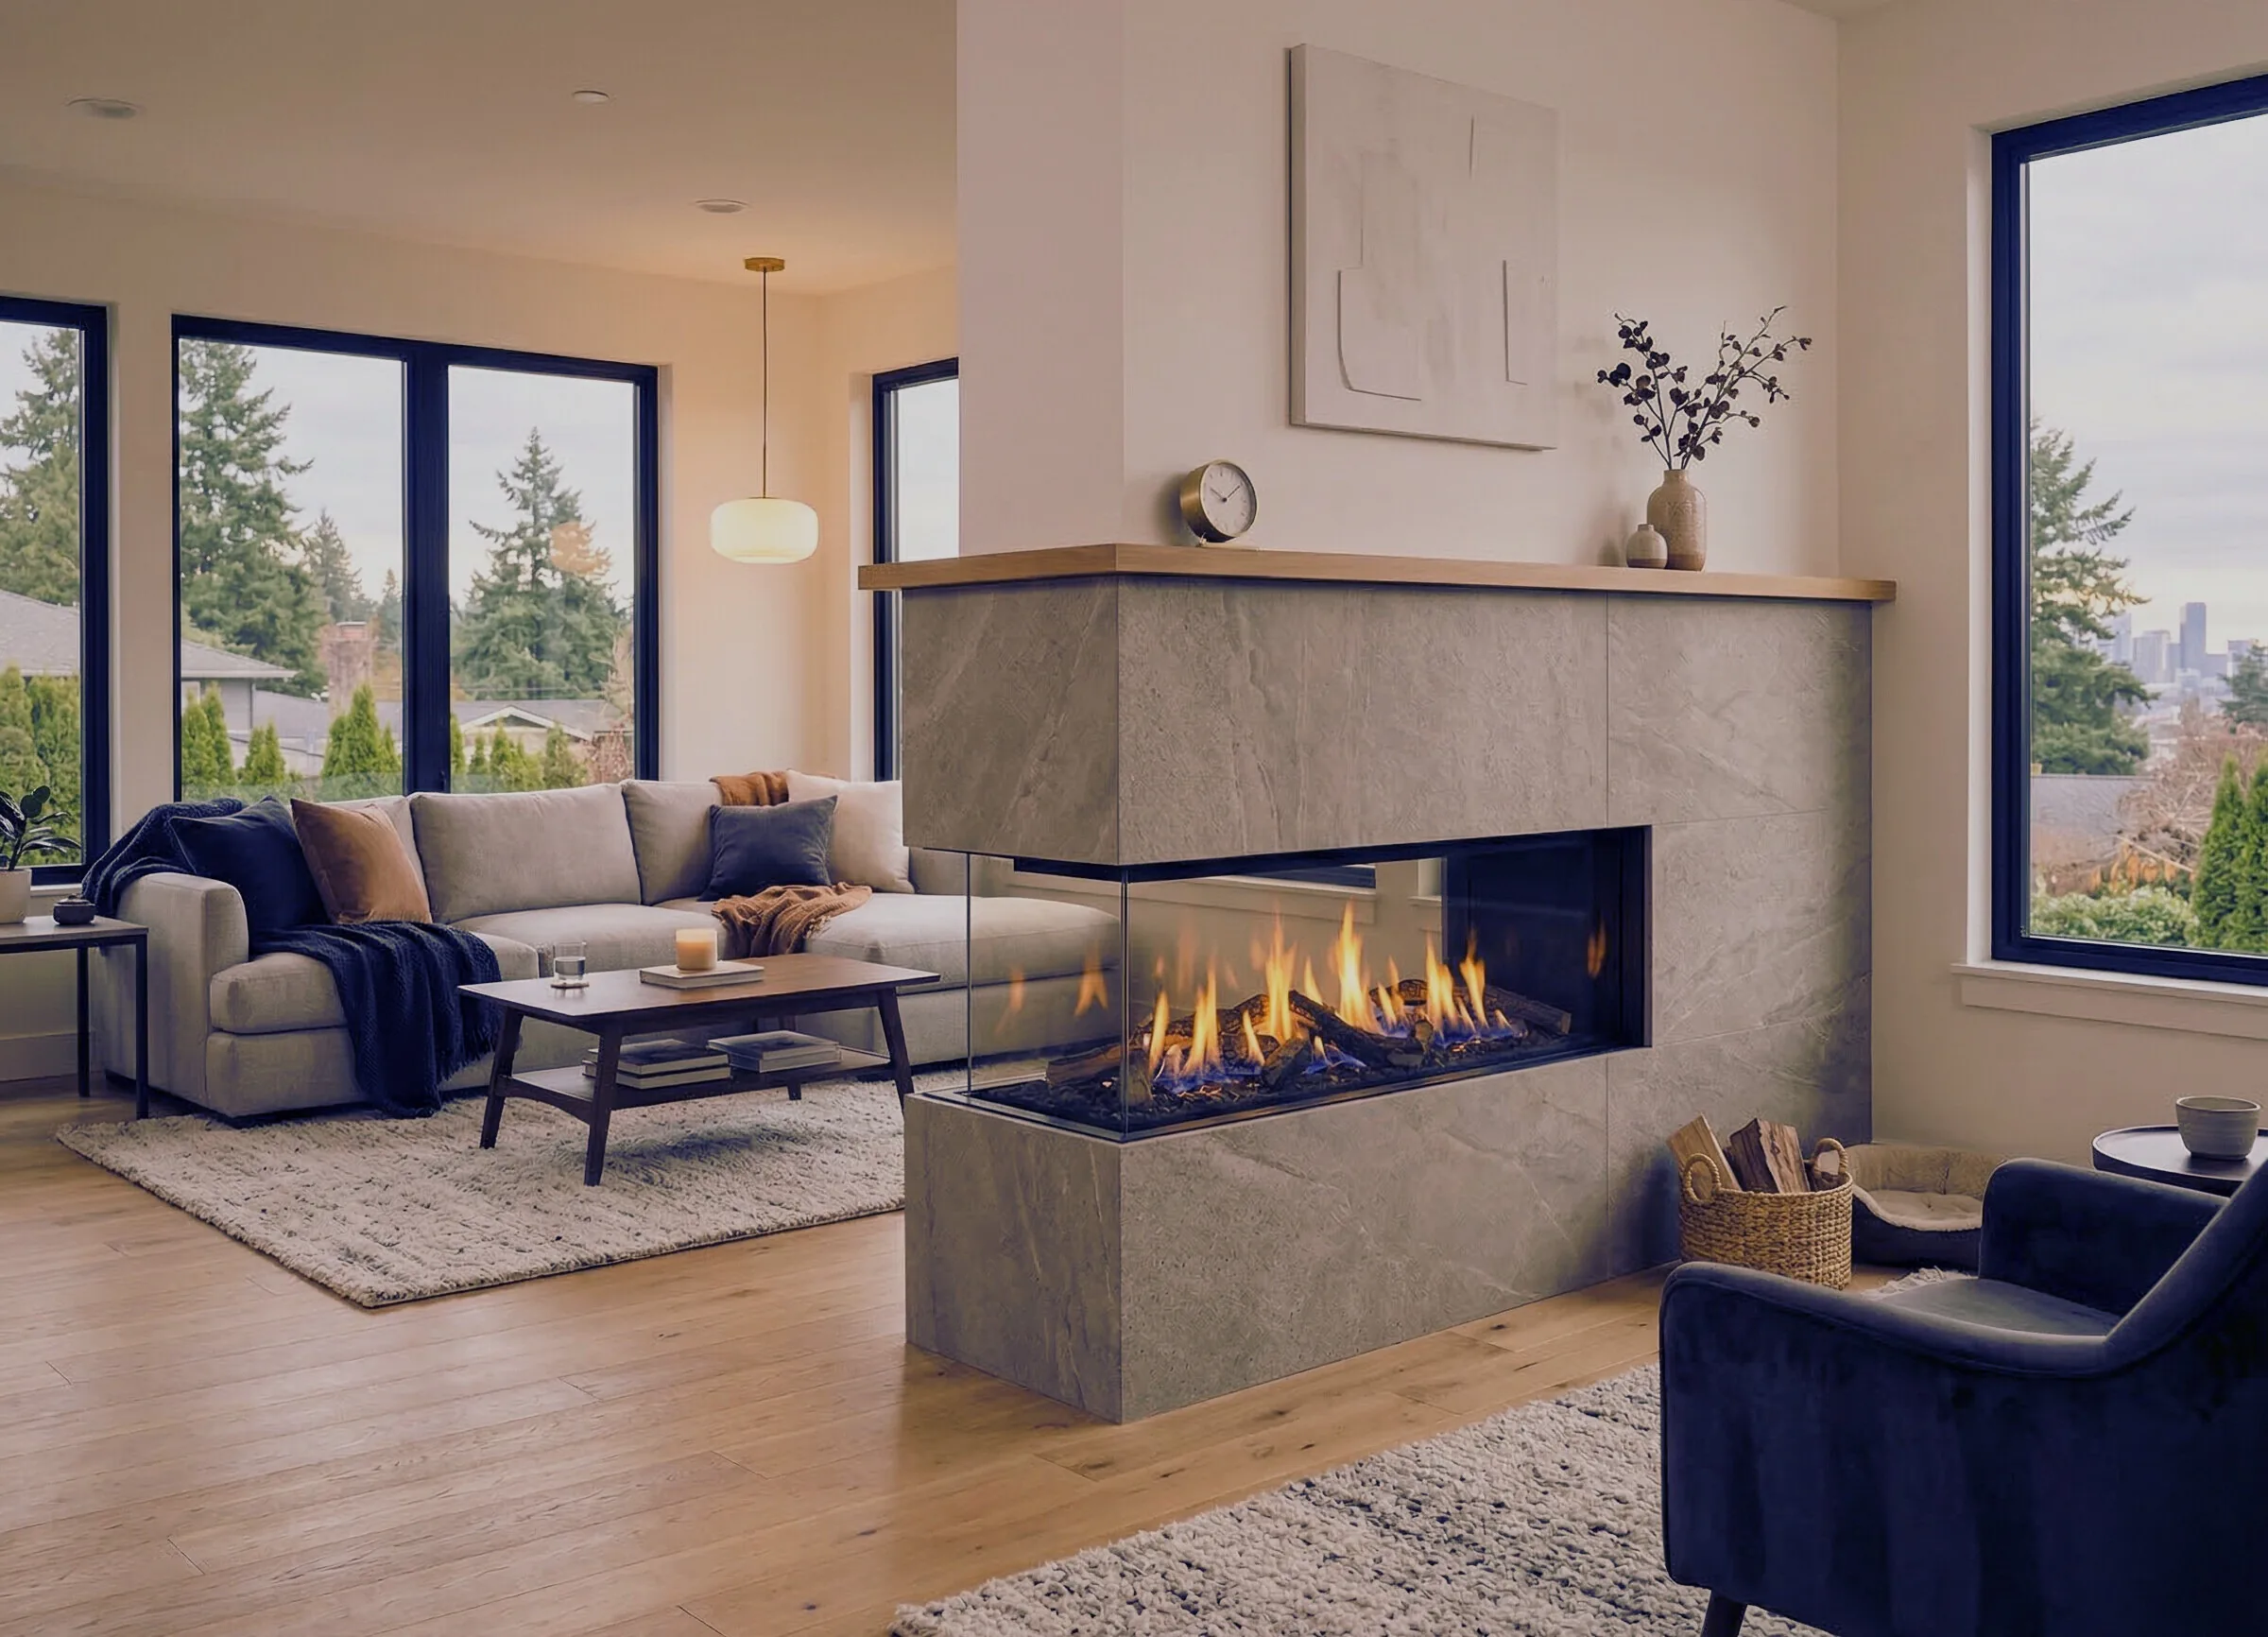
There is a painful irony at the heart of the traditional fireplace: the very feature that makes it romantic — the open, crackling fire — is the same feature that makes it one of the worst heating appliances in your home. An open masonry fireplace operates at roughly 10-15% efficiency. That means for every dollar of firewood you burn, 85 to 90 cents' worth of heat goes straight up the chimney and out into the Seattle sky.
It gets worse. While the fire draws air for combustion, it pulls heated indoor air along with it. Your furnace works harder to replace that lost conditioned air, and your energy bill climbs. Studies from the U.S. Department of Energy have repeatedly shown that a traditional open fireplace can actually result in a net heat loss for the home — you end up colder in the rooms farthest from the fireplace than if you had never lit it.
But that does not mean you need to wall off the firebox and pretend it was never there. Over the past decade, a series of affordable upgrades — some under $200 — have made it possible to push fireplace efficiency from that dismal 10-15% into the 50-80% range without sacrificing the look and feel of a real fire. This guide walks through ten of them, ranked roughly from simplest to most involved, with real costs and Seattle-specific considerations at every step.
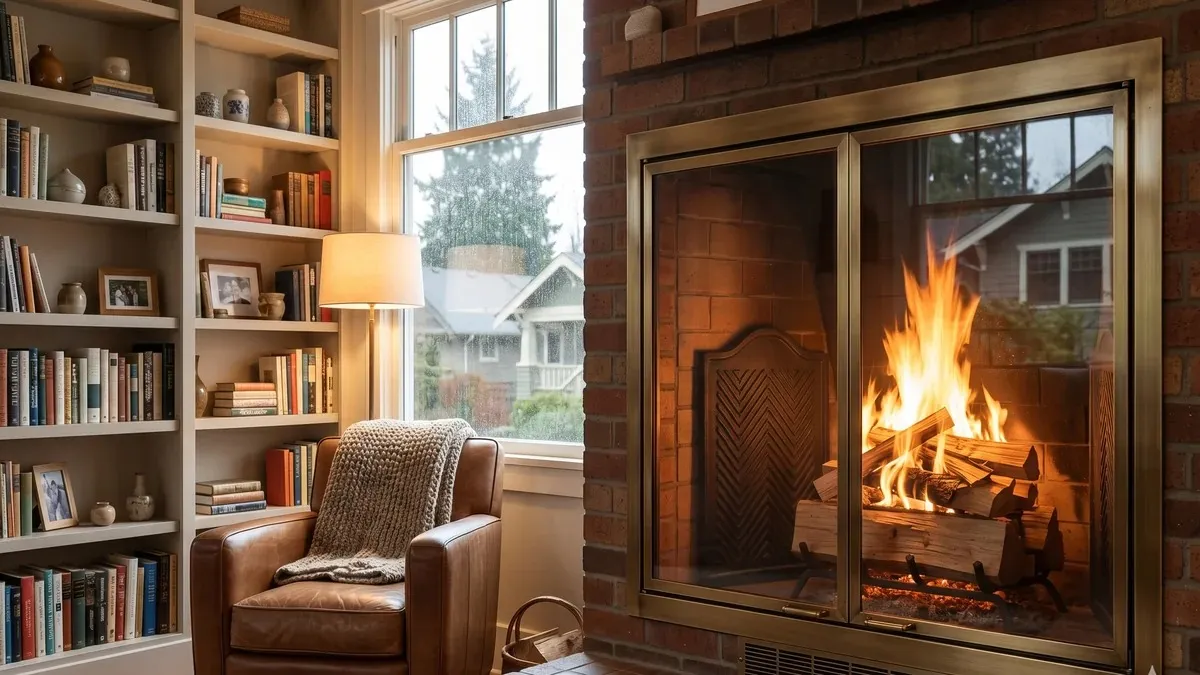
Upgrade 1: Install Tempered Glass Fireplace Doors ($200 - $600)
Glass doors are the single most impactful upgrade for an open masonry fireplace, and they are also one of the simplest. A set of tempered glass doors mounts directly to the firebox opening using a steel frame and adjustable lintel clamps — no masonry work, no permits, and most installations take under an hour.
How glass doors improve efficiency
When the fire is burning, you crack the doors slightly to allow combustion air in while preventing room air from being sucked up the chimney in excess. When the fire dies down to coals and you go to bed, you close the doors fully. This seals the firebox and stops the chimney from acting as an open window all night, pulling heated indoor air out of the house for hours after the fire is done.
The DOE estimates that glass doors alone can improve fireplace efficiency by 20-30% by reducing uncontrolled air loss. In Seattle, where heating season runs roughly October through April, that adds up quickly.
What to look for
- Tempered safety glass (required by code) — not plate glass.
- Adjustable air intake vents at the bottom of the frame.
- Proper sizing — measure the firebox opening width and height precisely.
- Bi-fold doors for easy access when loading wood.
After installation, make sure your chimney sweep technician can still access the firebox for annual cleaning. Most glass door frames swing or detach for service.
Upgrade 2: Replace the Throat Damper With a Top-Sealing Damper ($200 - $400)
The traditional throat damper — that cast iron plate just above the firebox — was designed in an era before anyone cared about energy efficiency. Even when closed, a throat damper warps over time and leaves gaps that let conditioned air escape 24 hours a day, 365 days a year. Think of it as a leaky window you never close.
A top-sealing damper replaces this system entirely. It sits at the top of the flue, sealed with a silicone gasket, and opens via a cable that runs down to a handle mounted in the firebox. When closed, it forms an airtight seal at the chimney cap, eliminating drafts completely.
Why this matters in Seattle
During the 7-8 months per year when you are not using the fireplace, a leaky throat damper lets cold, damp Puget Sound air flow down into your home. That draft chills the room, carries moisture that smells musty, and forces your HVAC to compensate. A top-sealing damper stops all of it.
Installation requires a clear and sound flue. Our technicians install these as part of routine service calls — it takes about 45 minutes and the damper doubles as a rain cap, so you get two benefits in one.
Upgrade 3: Add a Cast Iron Fireback ($100 - $300)
A fireback is a heavy cast iron plate (typically 20-30 pounds) that stands against the back wall of the firebox. It absorbs heat from the fire, protects the rear firebrick from spalling, and — most importantly — radiates that stored heat forward into the room instead of letting it soak into the masonry and dissipate outward.
Firebacks have been used in European fireplaces since the 15th century, and the physics have not changed. Cast iron absorbs heat efficiently, holds it for hours, and radiates it as infrared warmth directly at the people sitting in front of the fire. A quality fireback can increase the amount of heat delivered into the room by 25-40%.
Installation
There is no installation, really. You lean it against the back wall of the firebox. Some homeowners prop it at a slight angle to direct more heat forward. That is the entire project — no tools, no modifications, and you can remove it any time.
For the best results, pair a fireback with glass doors and a proper firewood selection. Speaking of which, the type of wood you burn matters enormously — see our guide on the best firewood to burn in the Seattle and Pacific Northwest area.
Upgrade 4: Install a Heat Exchanger Grate ($150 - $400)
A standard fireplace grate is just a cradle for logs. A heat exchanger grate (also called a tubular grate or C-shaped grate) is an active heating device. It consists of hollow steel tubes that loop under and around the fire. Cool room air enters the bottom of the tubes, passes through the fire zone, and exits the top as heated air — effectively turning your fireplace into a rudimentary furnace.
Some models include a small electric blower that forces air through the tubes faster, increasing heat output substantially. With a blower-assisted heat exchanger grate, you can push fireplace efficiency into the 30-40% range — triple the baseline of an open fireplace.
What to know before buying
- Measure your firebox carefully — the grate must fit without touching the firebrick walls.
- C-shaped (front-to-back loop) designs outperform simple U-tube designs.
- Blower-equipped models need a nearby electrical outlet.
- Pair with glass doors for maximum effect — the doors prevent room air bypass around the grate.
Heat exchanger grates are available at hearth shops throughout the Seattle area and online. Installation is as simple as placing it in the firebox, though adding a blower may require a licensed electrician for the outlet.
Upgrade 5: Add a Fireplace Blower System ($200 - $500)
If your fireplace has a metal firebox liner or a factory-built zero-clearance unit, there is a good chance it was designed to accept a blower kit. A blower (also called a fan kit) mounts beneath or beside the firebox and circulates heated air from the cavity around the firebox out into the room through vents in the surround.
The difference is dramatic. Without a blower, the heat radiates passively from the firebox face. With a blower, you are actively moving heated air into the room at a much higher rate. Many homeowners report that adding a blower makes the difference between the fireplace being decorative and actually heating the living space.
Compatibility check
Blower kits are specific to your fireplace make and model. Check the rating plate inside the firebox (usually on the upper left) for the manufacturer and model number. If you have a traditional all-masonry fireplace without a metal liner, a standalone blower will not work — but a heat exchanger grate with a built-in blower (Upgrade 4) achieves the same result.
Upgrade 6: Install an Outside Air Kit ($150 - $300)
This is the upgrade that solves a problem unique to modern, tightly sealed homes — and Seattle has a lot of them. Newer construction and recently remodeled homes are built to be airtight for energy efficiency. But a fireplace needs combustion air. When the home is sealed tight and the fireplace is competing with kitchen range hoods, bathroom exhaust fans, and dryer vents for the limited available air, you get negative pressure problems: smoke rolling into the room, difficulty starting fires, and a fireplace that seems to barely draw.
The Seattle-specific issue
Range hoods are a particular culprit here. High-powered kitchen ventilation (600+ CFM hoods are common in Seattle remodels) can overpower the fireplace draft entirely. When you turn on the range hood while the fire is burning, it can reverse the chimney draft and pull smoke into the house.
An outside air kit solves this by providing a dedicated duct from the exterior of the home directly to the firebox. The fire draws its combustion air from outside rather than competing with your home's mechanical systems. Installation involves cutting a small hole through the foundation or exterior wall near the firebox and connecting a 4-6 inch insulated duct.
This is especially critical in newer Seattle homes built to WA State Energy Code standards, which mandate tighter building envelopes than most other states.
Upgrades 7-8: Chimney Liner and Proper Firewood Selection
Upgrade 7: Install an Insulated Chimney Liner
If your chimney has an unlined flue or an old, deteriorating clay tile liner, upgrading to a stainless steel insulated liner improves efficiency in two ways. First, it keeps flue gases hotter as they rise, which improves draft and makes the fire burn cleaner and more completely. Second, a properly sized liner (matched to your firebox) eliminates the oversized-flue problem that plagues many older Seattle chimneys — when the flue is too large for the fire, gases cool too quickly, draft weakens, and creosote builds up faster.
A full liner installation runs $1,500-$4,000 depending on chimney height and liner diameter, but it also extends the safe life of your chimney by decades. See our complete chimney liner replacement guide for costs and options.
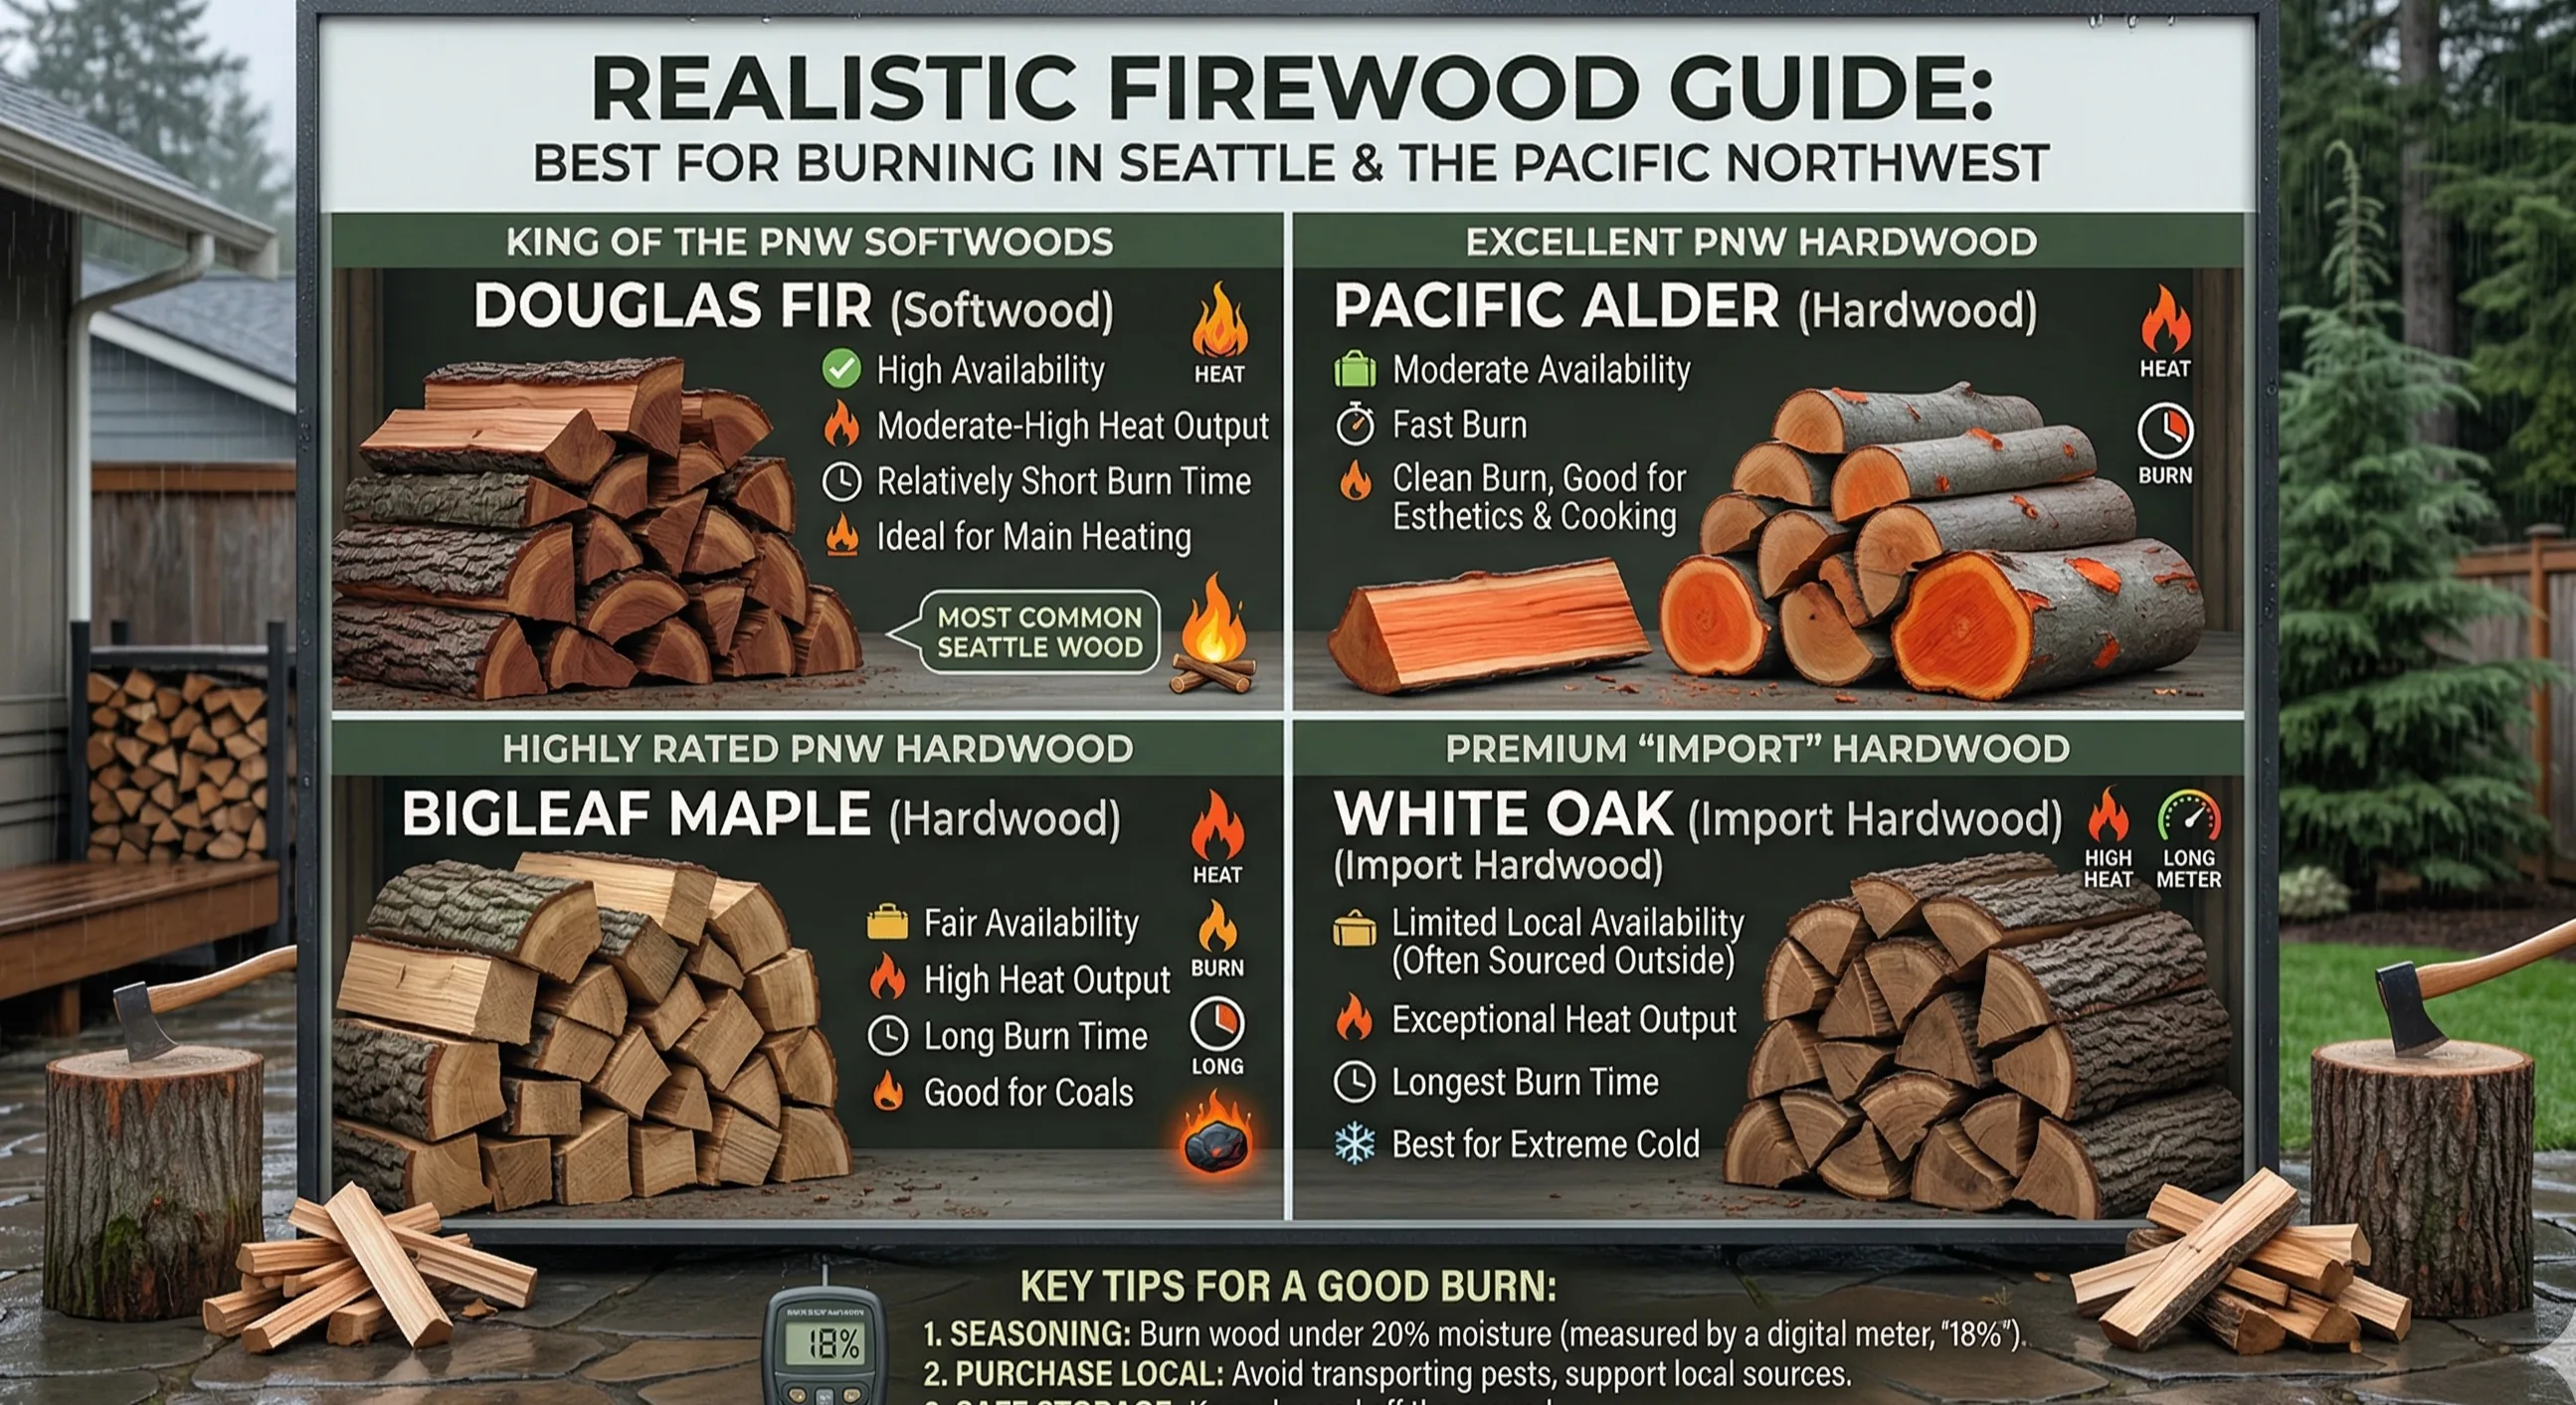
Upgrade 8: Use the Right Firewood
This upgrade costs nothing extra if you are already buying firewood — you just need to buy the right kind. Seasoned hardwoods (oak, maple, ash) produce significantly more heat per cord than softwoods (Douglas fir, western red cedar, alder) that are more commonly available in the Pacific Northwest.
More importantly, wood moisture content matters more than species. Wood burned at above 20% moisture content produces half the heat and double the creosote of properly seasoned wood at 15-20% moisture. A $20 moisture meter pays for itself in the first cord.
We wrote an entire guide on the best firewood for Seattle and the Pacific Northwest — including where to source properly seasoned wood locally.
Upgrades 9-10: Top-Down Fire Method and Sealing Drafts
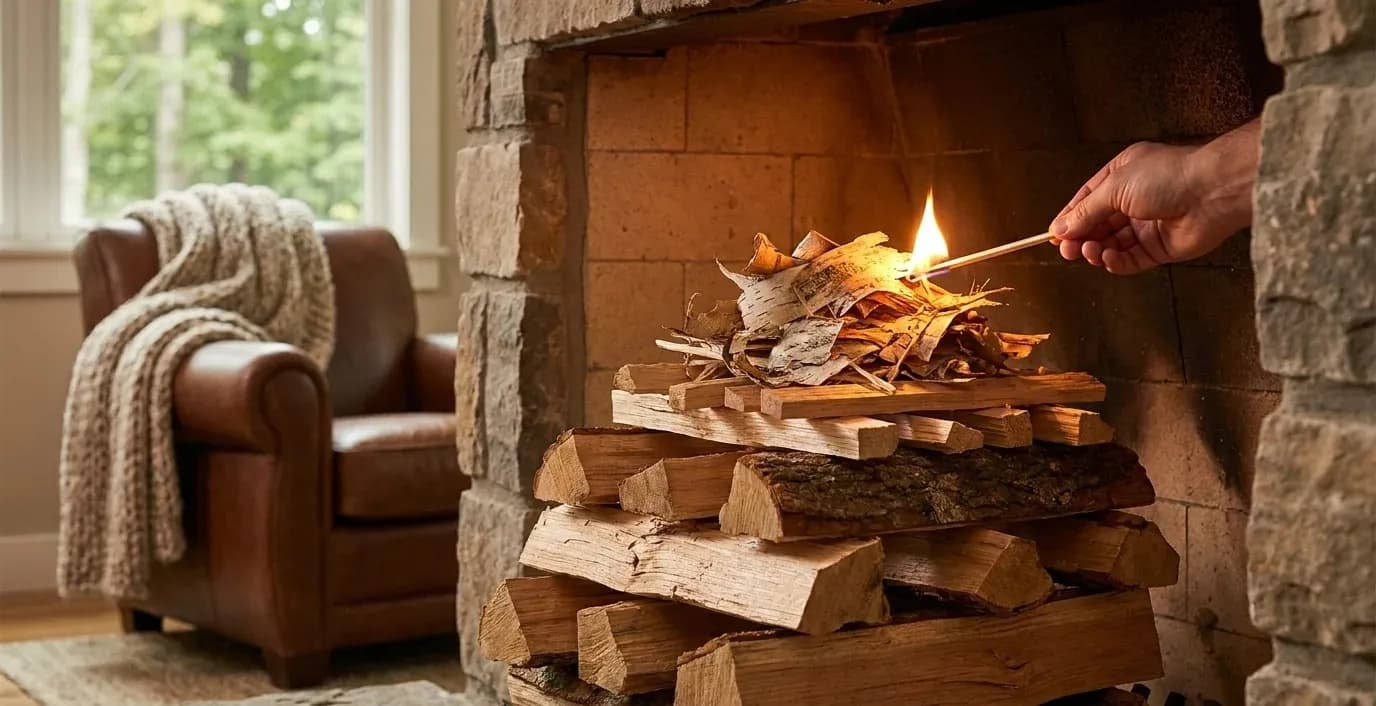
Upgrade 9: Use the Top-Down Fire Method
The way you build the fire matters as much as what you burn. The traditional method — newspaper, kindling, small logs, big logs stacked from bottom to top — produces a smoky start, a slow buildup, and a long period of incomplete combustion while the flue warms up.
The top-down method reverses the stack: large logs on the bottom, medium logs in the middle, kindling and fire starters on top. When you light the top, the fire burns downward slowly and cleanly. The flames immediately heat the flue from above, establishing a strong draft from the start. Smoke output drops dramatically, heat output starts sooner, and you use 15-20% less wood for the same burn time.
We covered this technique in detail in our guide on how to build a fire in a fireplace the right way. It costs absolutely nothing and makes a noticeable difference from the very first fire.
Upgrade 10: Seal Air Leaks Around the Fireplace
Even with glass doors and a top-sealing damper, air can leak through gaps between the firebox and the surrounding wall finish, through cracked or missing mortar in the smoke chamber, and through the ash dump door in the firebox floor. A professional chimney technician can seal these pathways with high-temperature sealant and refractory mortar during a routine chimney sweep appointment — typically adding only $50-$100 to the service call.
Combined, these small leaks can account for as much conditioned air loss as leaving a window cracked open year-round. Sealing them is one of the highest-ROI improvements you can make to your fireplace system.
When a Gas Insert Is the Better Answer
We would be dishonest if we did not mention the option that beats every upgrade on this list: a direct-vent gas fireplace insert. A modern gas insert slides into your existing masonry firebox, vents through your existing chimney (with a new liner), and operates at 70-85% efficiency with the push of a button. No firewood, no ash, no creosote, no annual sweep, and dramatically more heat output than even a fully upgraded wood-burning fireplace.
If your primary goal is heating efficiency rather than the ritual of a wood fire, a gas insert is the right answer. They range from $3,500 to $7,000 installed in the Seattle area, and many homeowners recoup the investment through lower heating bills within 5-8 years.
We compared the two options in depth in our gas vs. wood fireplace guide for Seattle homeowners. And if you are ready to explore insert options, contact us for a free consultation — we install all major brands and can walk you through what fits your firebox and your budget.
Whether you start with a $100 fireback or go all the way to a gas insert, the key takeaway is this: you do not have to live with a 10% efficient fireplace. Every upgrade on this list stacks with the others, and most pay for themselves within a few heating seasons. Seattle Chimney Pros has been helping homeowners get more heat from their fireplaces since 2011 — call us at (253) 429-8006 to discuss which upgrades make sense for your setup.
Need professional help?
Our professionally trained team is ready. Free estimate, 30-minute response.