How to Build a Fire in a Fireplace the Right Way in 2026 (Top-Down Method)
How Do You Build a Fire in a Fireplace the Right Way?
The correct way to build a fireplace fire in Seattle in 2026 is the top-down method: place 3–5 large split logs on the bottom, stack medium splits perpendicular on top, add small splits above those, then crown with a 4–6 inch nest of dry kindling and tinder — and light from the top. Based on over 800 fireplace inspections and sweep calls our team completed last year across the Seattle metro, fires built this way establish clean draft within 2–3 minutes, produce minimal startup smoke, and sustain a 2–3 hour burn without reloading. The traditional bottom-up method most homeowners learned works — but it produces significantly more creosote during the smoky startup phase, shortens burn time, and is the primary reason Seattle-area flues need more frequent chimney sweeps. Current as of July 2026.
Why a Wallingford Homeowner's Fires Kept Smoking the Room — Until Alex Showed Her What She Was Doing Wrong
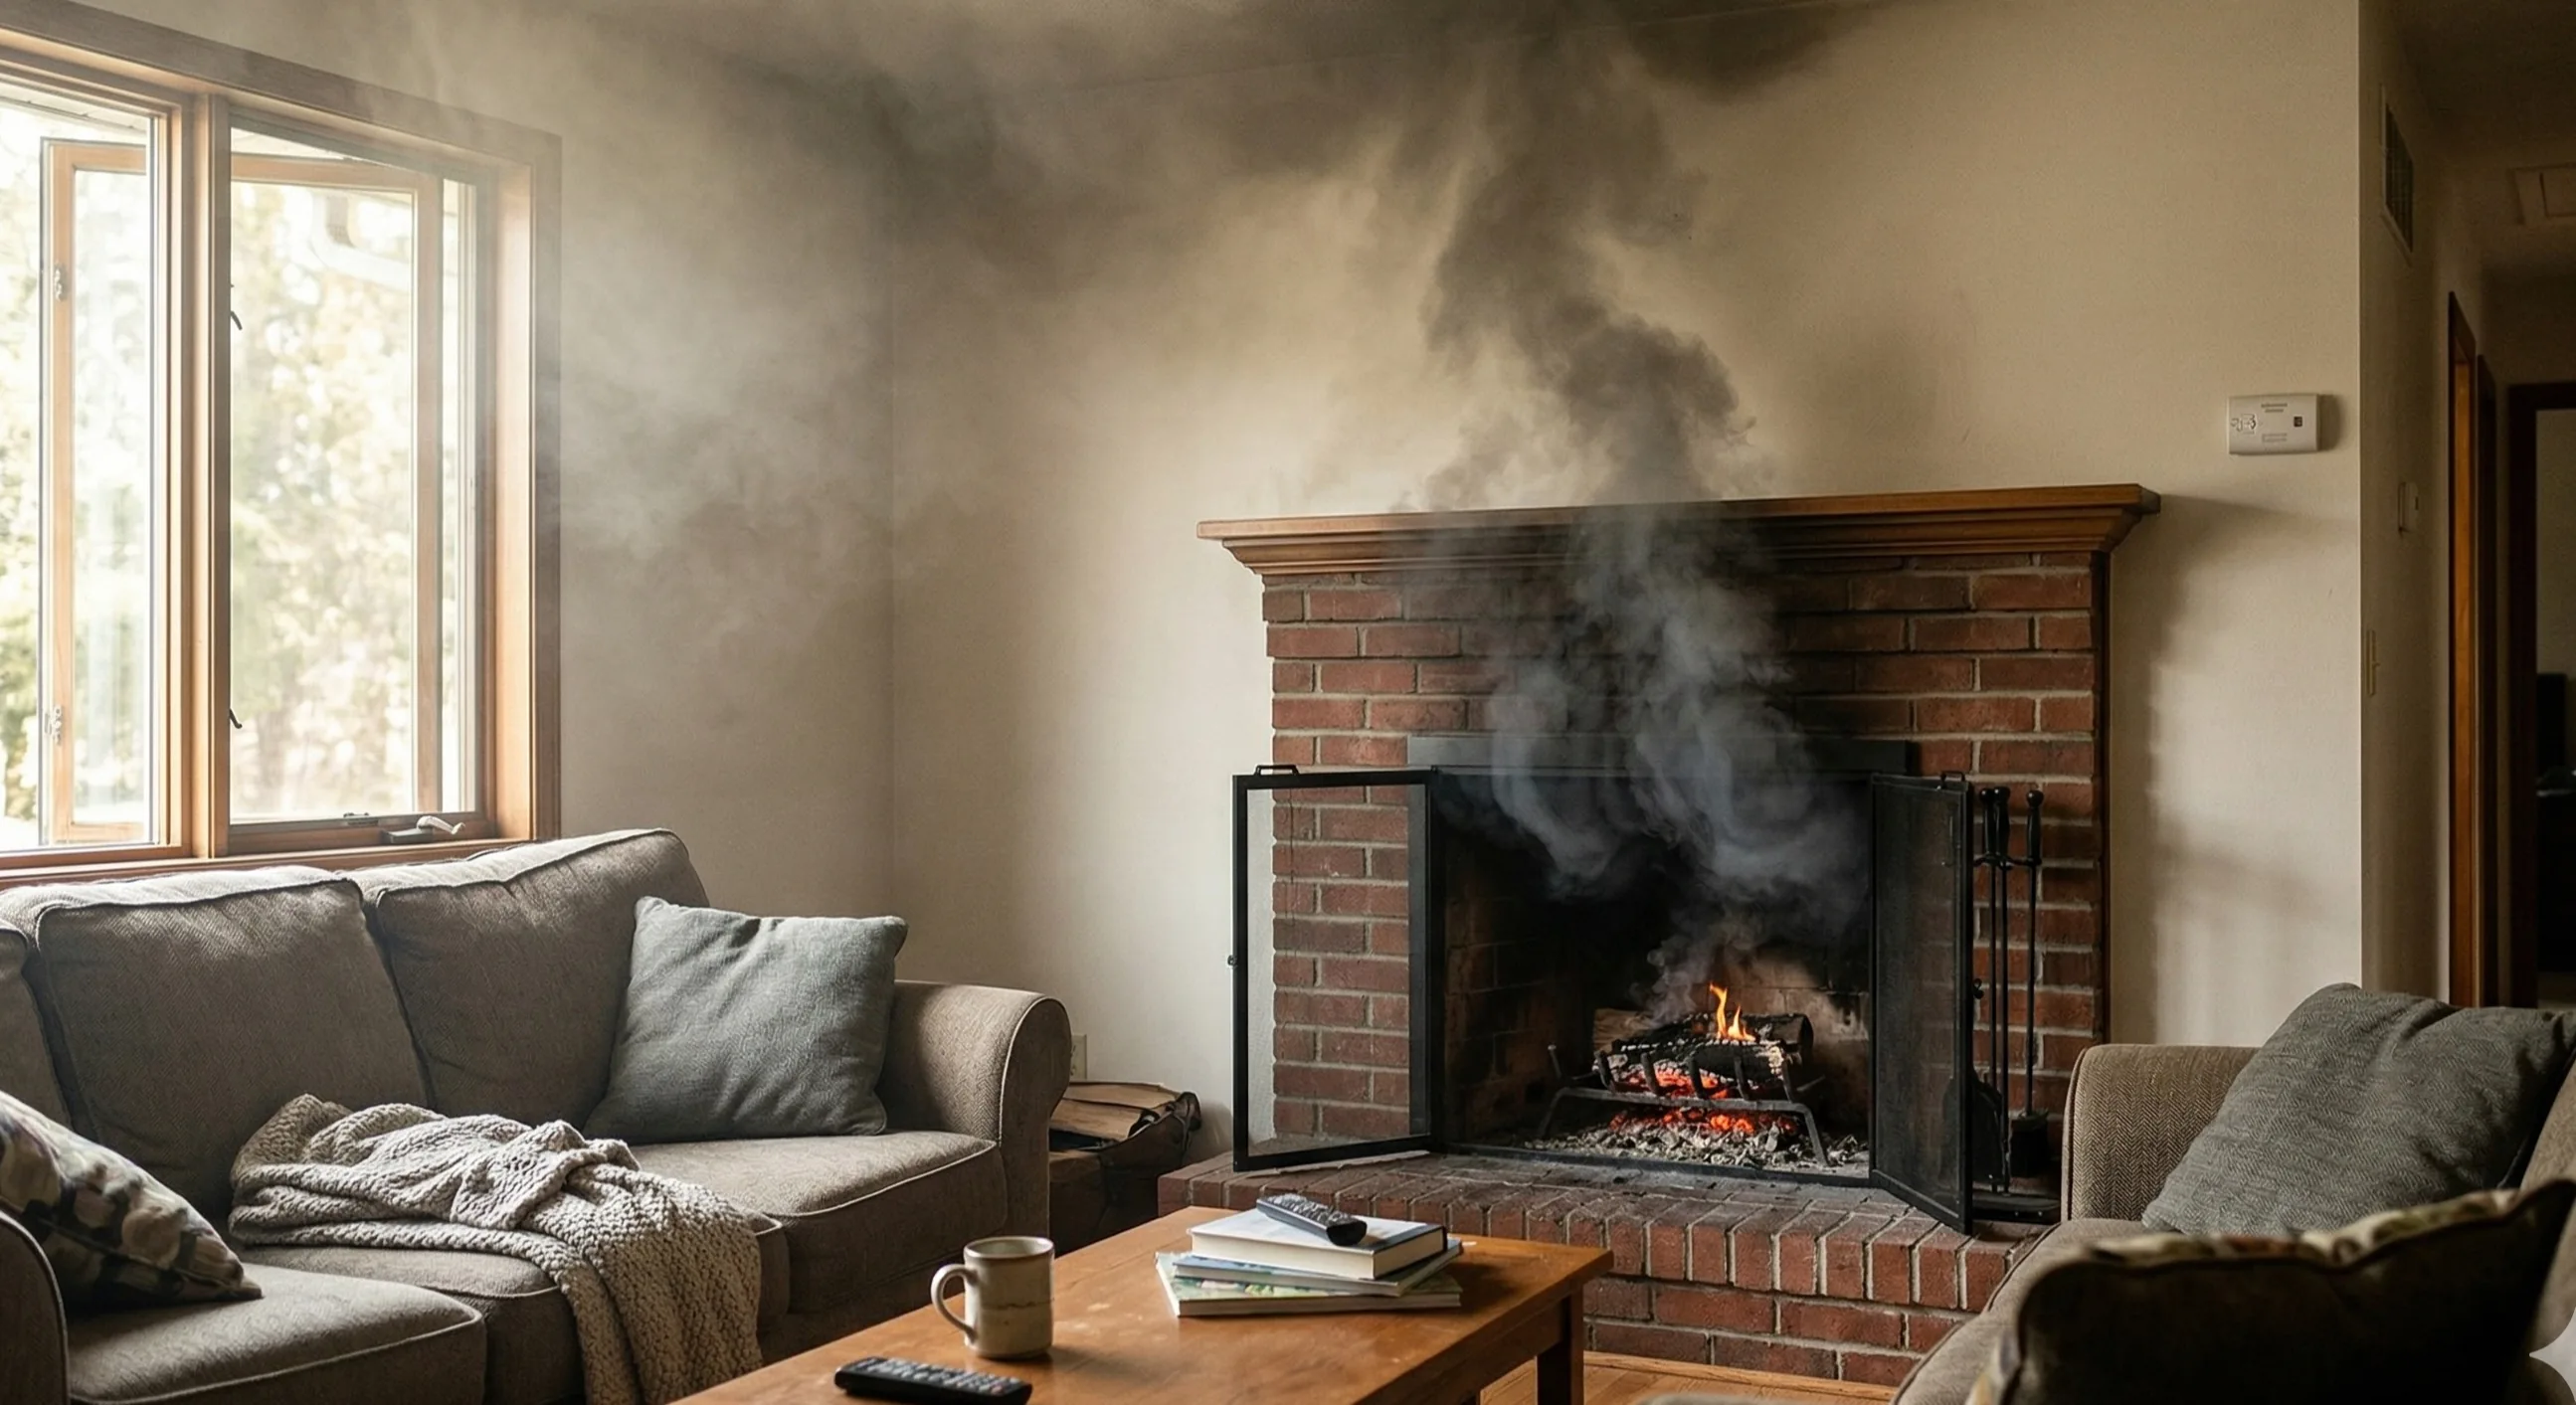
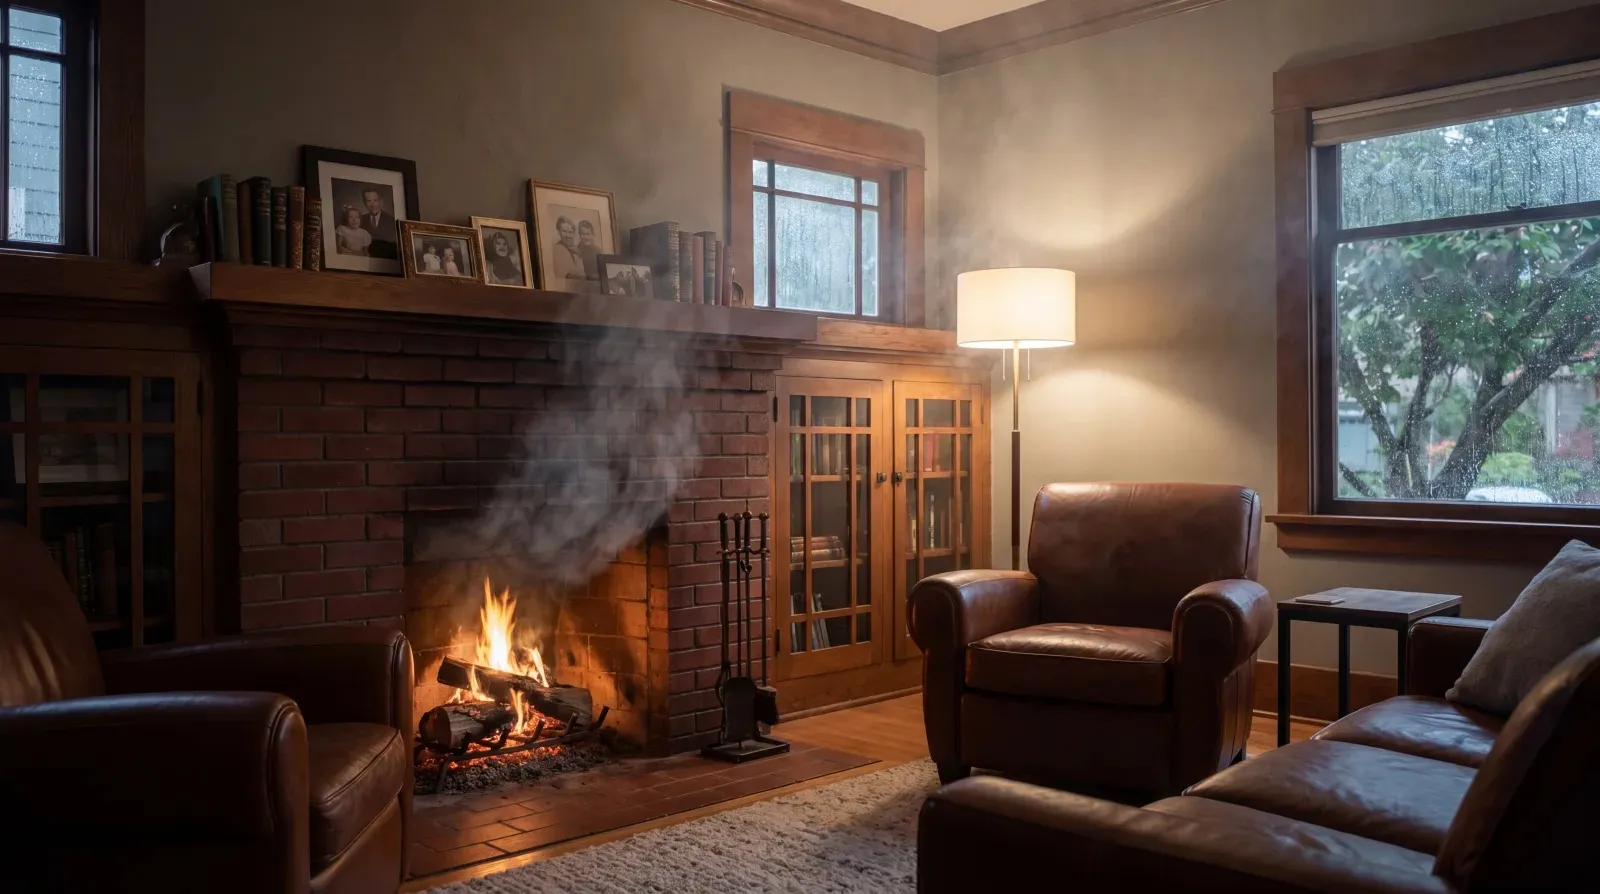
Diane F. had owned her 1938 craftsman in Wallingford for three winters before she called us. Every time she lit the fireplace, the same thing happened: the first ten minutes filled the living room with a haze of smoke, the fire burned hot for a while, then petered out in under an hour, leaving a firebox of half-charred logs. She'd tried more newspaper, less newspaper, different log arrangements, opening windows — nothing worked consistently.
She finally booked a chimney inspection after her neighbor mentioned seeing our truck on her block. Alex arrived on a grey October morning, ran the camera up the flue, and found the chimney was in fine shape — no significant creosote, no liner cracks, a fully functional damper. The problem wasn't the chimney. It was the fire.
Alex watched Diane demonstrate her setup: crumpled newspaper on the grate, a loose teepee of kindling, two large splits balanced on top. Classic bottom-up. He explained what was happening: the flame starts low and has to push smoke past cold wood and a cold flue column before it reaches the throat. That 8–12 minute window before the flue warms up is where all the smoke comes from.
'The chimney itself is in great shape — this is purely a fire-building issue. With bottom-up, you're asking smoke to climb past three cold logs before the flue even starts pulling. Flip the whole stack and you'll never smoke the room again.'
— Alex, Lead Technician, Seattle Chimney Pros
Alex rebuilt the fire in front of her: large splits on the bottom, medium splits perpendicular on top, small quartered rounds above those, a generous nest of alder kindling at the crown, two fatwood sticks tucked in. He lit the top in three spots. Within 90 seconds, clean golden flames were rolling across the kindling layer, draft fully established, zero smoke in the room.
'I've been doing it wrong for three winters,' Diane said, laughing. 'I wish someone had shown me this when we moved in.' The inspection and sweep came to $229. She's been building top-down fires ever since — and called us in September 2026 to schedule her annual sweep ahead of the season.
What Are the Prerequisites Before Lighting Any Fire?
The best fire-building technique can't compensate for a chimney that isn't ready to perform. Before the first fire of the season — or any fire after a long gap — confirm these four things are in order:
- Annual inspection complete. A current Level 1 chimney inspection confirms the flue is clear, the liner is intact, and there are no animal nests, debris, or cracked components. NFPA 211 requires annual inspections for any chimney in regular use.
- Creosote below 1/8 inch. If the last inspection found more than that, book a sweep before lighting. Heavy creosote buildup is the leading cause of chimney fires. See our complete guide to preventing chimney fires.
- Damper fully open and operating. Test the handle before you light anything. A stuck damper causes instant smoke fill — if yours won't budge, read our damper stuck guide before proceeding.
- Flue draft established. If your chimney has been cold for a week or more — especially common in Seattle's October–November transition — warm the flue first. Roll a piece of newspaper into a tight torch, hold it near the open damper, and light it for 30–60 seconds. You'll feel the draft reverse from cold downdraft to upward pull.
In our experience across 800+ Seattle-area jobs last year, roughly 30% of smoke-in-the-room calls we receive are caused by skipping step 4 on cold flue days — not by a defective chimney.
How Do You Build a Top-Down Fire Step by Step?
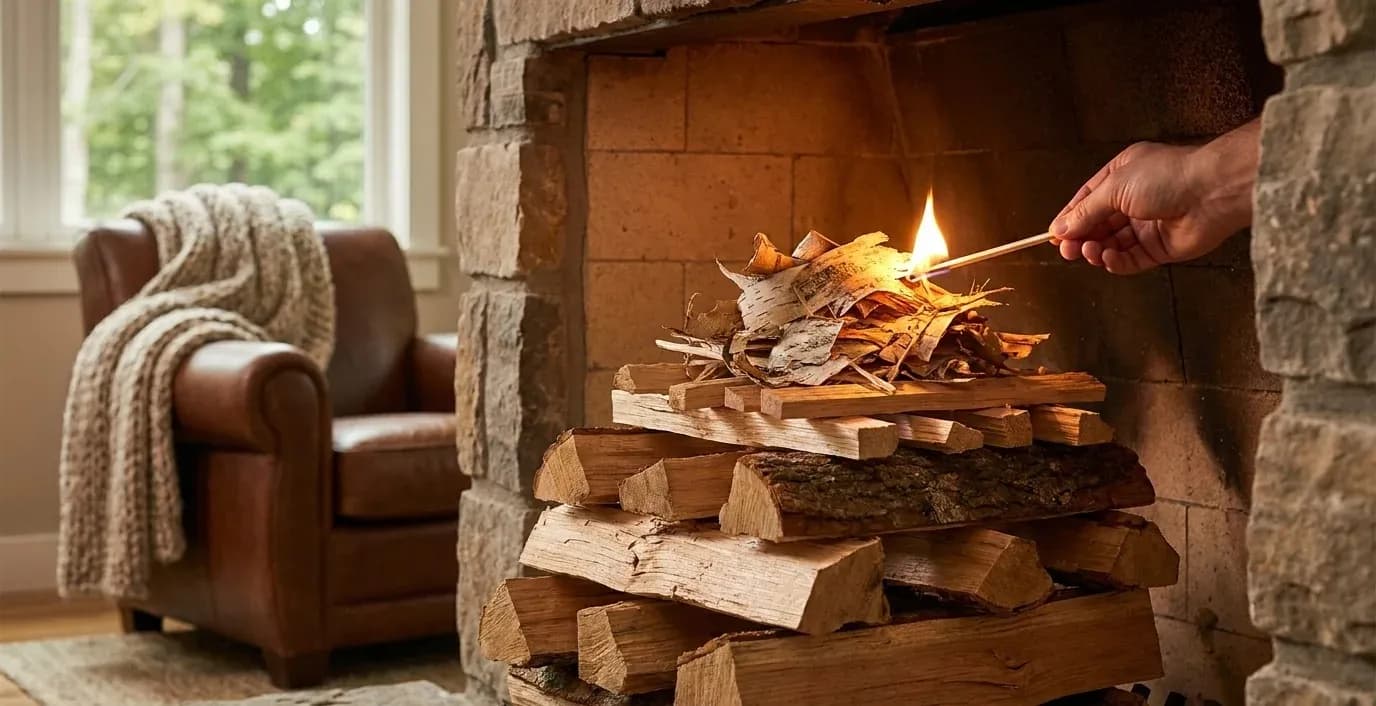
The physics are counter-intuitive but reliable: the fire starts at the top of the stack, where rising heat immediately pulls smoke up the warm flue above it. As the top layers burn down, they ignite the layer below in sequence, all the way to the large base logs. The result is a self-sustaining, high-temperature burn from the very first minute — with almost none of the smoky startup phase that defines the bottom-up method.
- Clear the firebox. Remove everything except a thin 1-inch bed of cool ash. A small ash bed insulates the firebox floor and helps retain coals; more than 2 inches blocks airflow and should be scooped out into a metal bucket.
- Lay 3–5 large split logs on the bottom. Orient them parallel, front to back, with small gaps for airflow. These are the last logs to ignite and will form your long-lasting coal bed — use your biggest, densest splits here.
- Add a second layer of medium logs, perpendicular. Cross 3–4 medium splits across the top of the big logs. The crisscross pattern creates vertical chimney-like channels that carry heat upward through the stack.
- Add a third layer of small splits, same direction as the large logs. Quartered rounds or small splits go on top of the medium layer, back to the original front-to-back orientation.
- Build a kindling nest on top. Lay 4–6 inches of dry pencil-to-wrist-thick kindling sticks across the top layer. This is your primary ignition zone — be generous. Stingy kindling is the number one reason top-down fires fail on the first attempt.
- Add tinder at the very top. A small handful of fine tinder — fatwood shavings, birch bark, a natural fire starter, or 2–3 tightly twisted strips of newspaper. Do not stuff the firebox with newspaper; a fast paper flash dies before the kindling catches.
- Light the tinder in 2–3 spots along the top. Step back. The flame spreads across the kindling layer, works down through the splits, and reaches the base logs in 15–25 minutes with minimal attention from you.
Keep the damper wide open for the first 20–30 minutes. Once you have a mature fire with solid orange flames across all layers, you can partially close the damper to slow the burn — but never so far that any smoke drifts back into the room.
How Does the Top-Down Method Compare to the Traditional Bottom-Up Method?
The method most Seattle homeowners grew up watching — crumpled newspaper on the bottom, kindling teepee on top, one or two logs balanced above — still works in specific conditions: short fires on strongly-drafting chimneys with very dry wood. But side by side, the difference is significant:
| Criteria | Top-Down Method | Bottom-Up Method |
|---|---|---|
| Startup smoke | Minimal — draft establishes in 2–3 min | Significant for first 8–12 min |
| Time to mature fire | 15–25 minutes | 10–20 minutes |
| Burn duration (unloaded) | 2–3 hours | 45–90 minutes |
| Tending required | Minimal after lighting | Frequent reloading and poking |
| Creosote production | Low (hotter, cleaner burn) | Higher (smoldering startup phase) |
| Difficulty | Medium — takes one or two practice sessions | Easy, familiar |
| Best for Seattle climate | Yes — handles cold, damp flues well | Struggles on cold October–November days |
The bottom-up method fails most often during Seattle's autumn transition — when outdoor and indoor temperatures are close, flues are cold from months of disuse, and humidity is high. This is precisely when the top-down method's immediate-draft advantage matters most.
What Firewood Burns Best in Seattle's Climate?
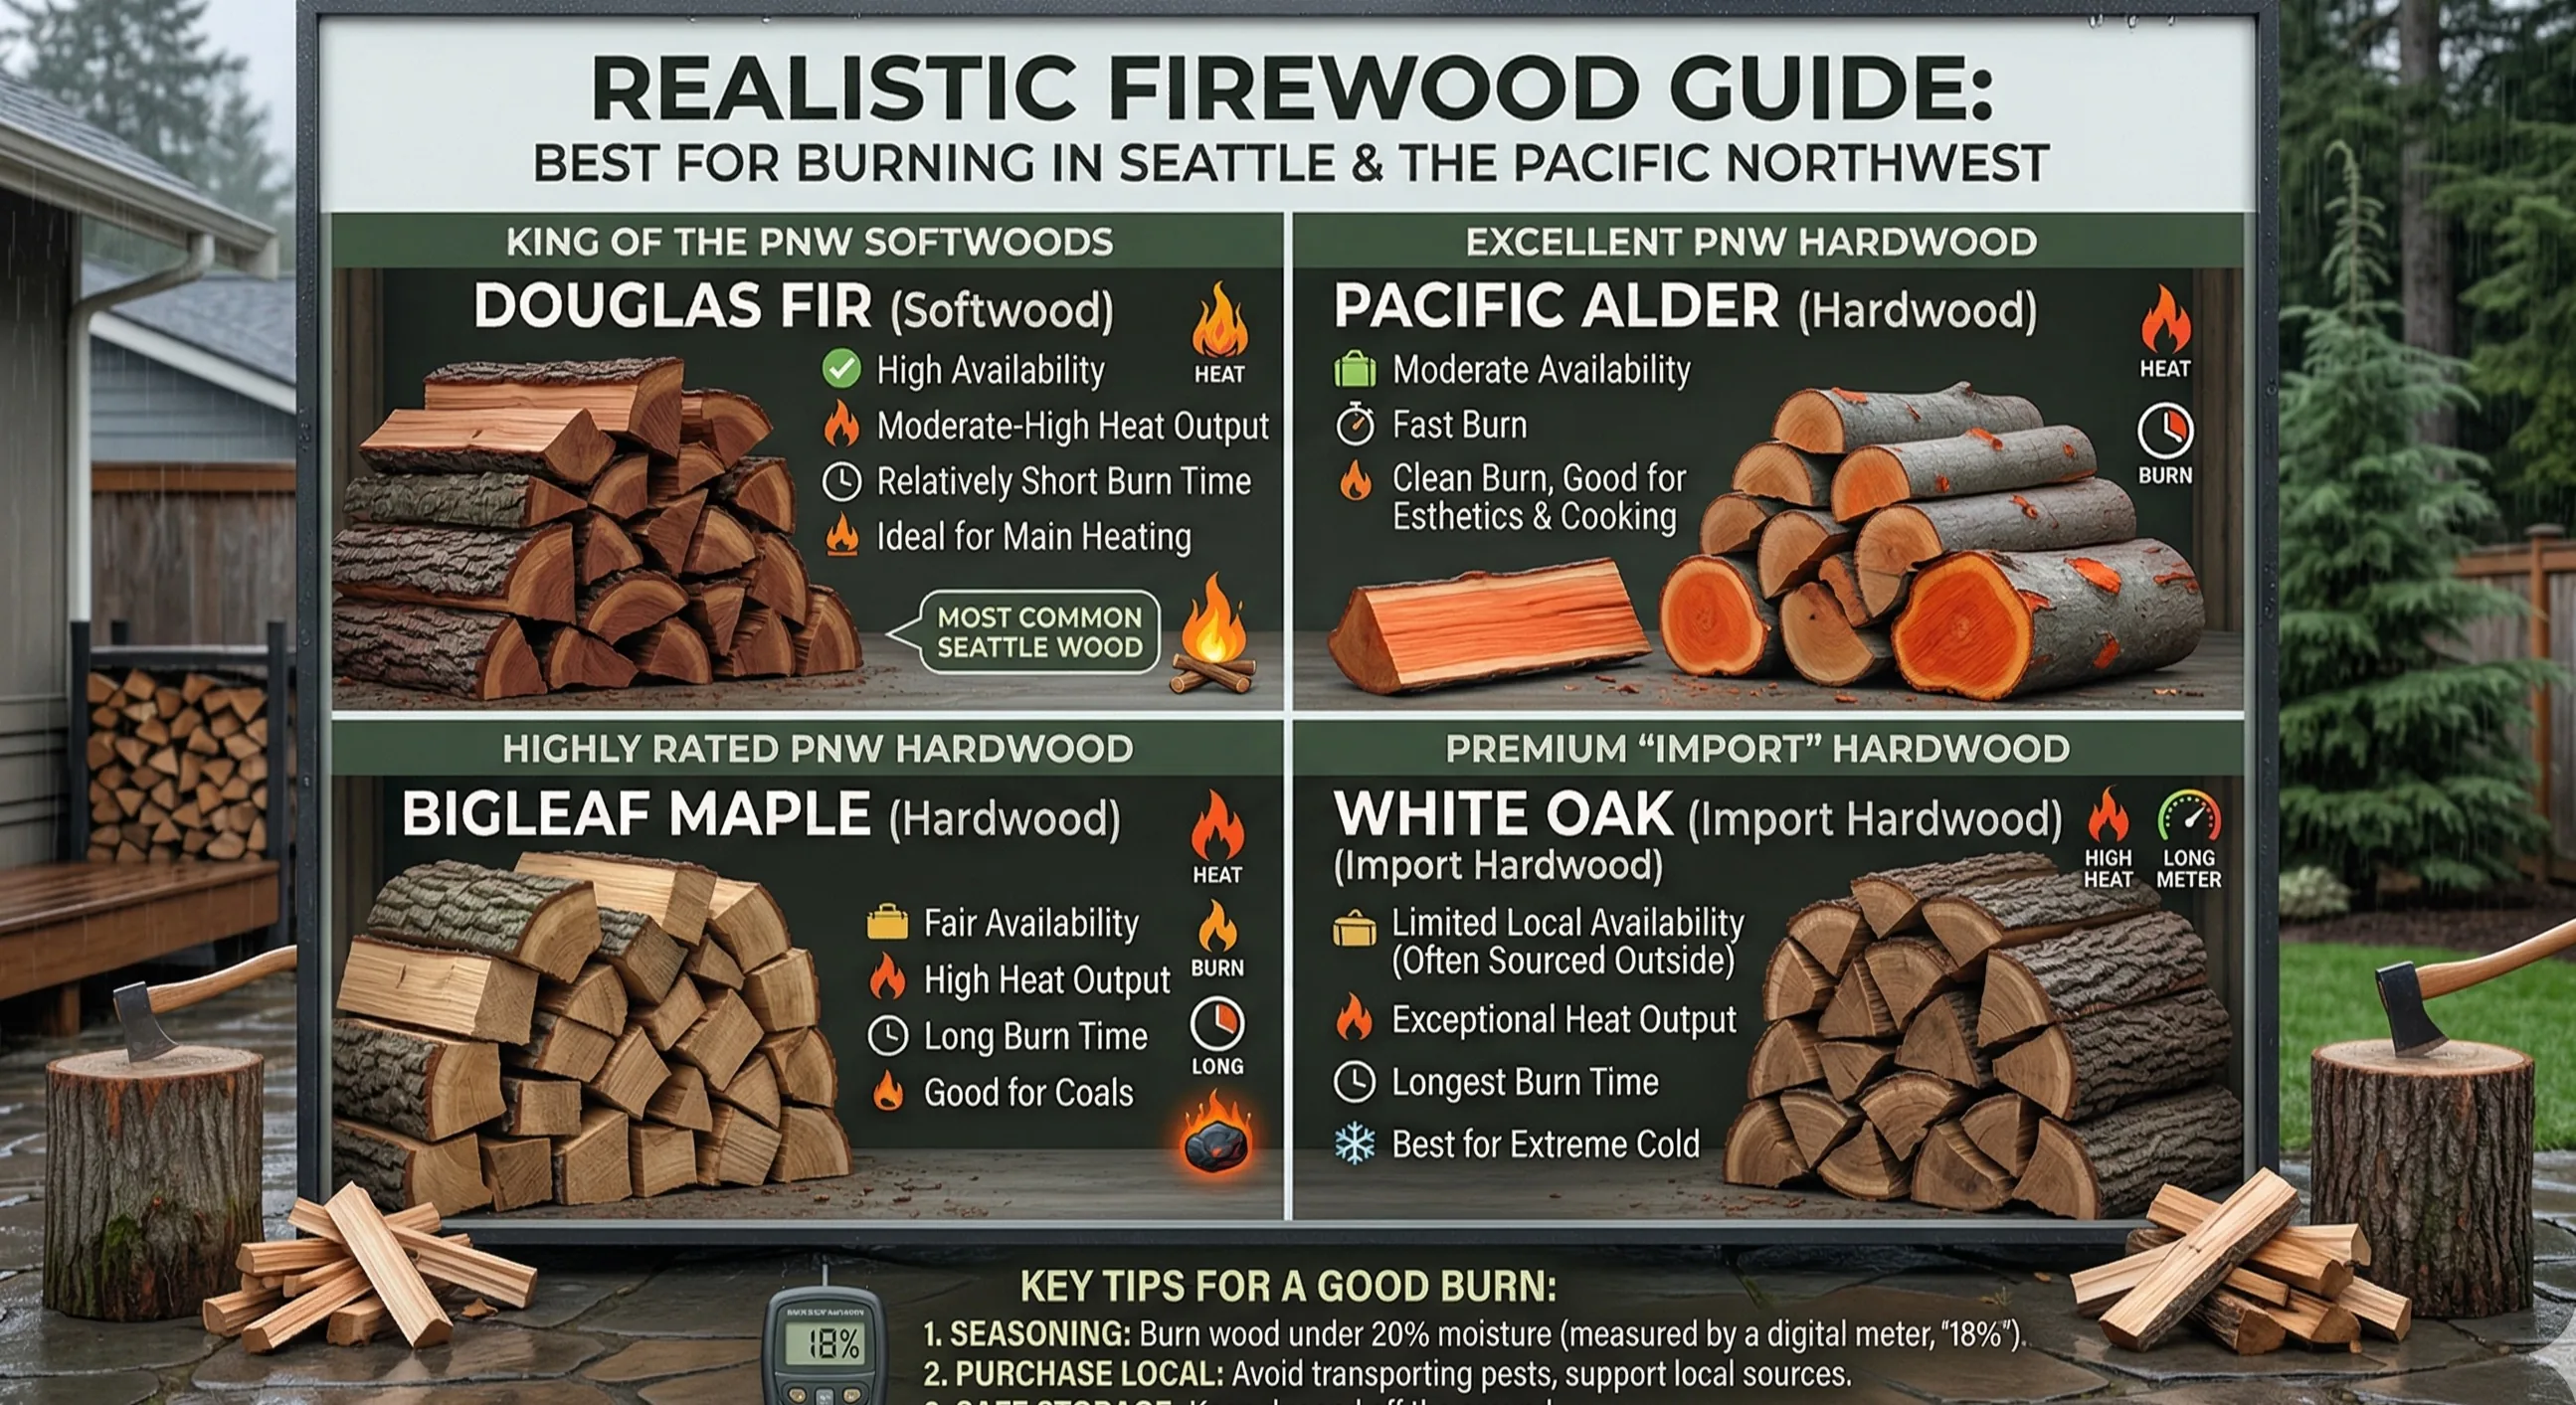
This is where Seattle-area homeowners get ambushed every year. Wood that was split last spring and stored under a tarp through a Ballard winter is not seasoned firewood — it's wet wood that will smoke heavily, burn cool, and accelerate creosote buildup in your flue. Properly seasoned firewood has been split, stacked with open sides for airflow, and dried for at least 12 months, ideally through a dry Pacific Northwest summer. Target moisture content: under 20%, measurable with a $20 moisture meter available at any hardware store.
Best species for Seattle-area fires:
- Douglas fir — the Seattle workhorse. Splits easily, burns hot, widely available from local suppliers. Fine for all-season use when well-seasoned.
- Madrona — dense Pacific Northwest hardwood with excellent coals and long burn time. Harder to find but worth it for winter evening fires.
- Red oak — high BTU output, very slow burn, needs 18+ months seasoning. Best for sustained heat on cold February nights.
- Maple — clean-burning, moderate BTU, widely available at local cord wood sellers.
- Alder — fast-burning, very clean smoke, ideal for shoulder-season shoulder fires when you want ambiance more than heat.
Avoid: green or freshly-split wood, painted or pressure-treated lumber, shipping pallets of unknown origin, driftwood (salt residue corrodes flue liners), and pure softwood loads when you're just getting started. Full species breakdown and Seattle supplier tips in our best firewood for Seattle guide.
Why Is My Fireplace Smoking the Room — and How Do I Fix It?
Smoke entering the room during startup is the most common fireplace complaint we hear across Seattle and surrounding neighborhoods. In order of likelihood, here are the causes and what to do right now:
- Cold flue — warm it first. Roll newspaper into a tight torch, hold it near the open damper, and light it for 45–60 seconds before building your fire. This reverses the cold-air downdraft that's pushing smoke into the room.
- Damper not fully open. Double-check that the handle is at its fully open stop — on many older Seattle homes, damper handles feel loose when partially open and can fool you. Open a window near the fireplace briefly to test for negative pressure.
- Wet wood. Hold the back of your hand near the end-grain of a log while it's burning — if you feel intermittent cool moisture or hear hissing and bubbling, moisture content is too high. Switch to drier wood.
- Negative house pressure. Kitchen range hoods, bathroom fans, and whole-house exhaust systems depressurize the interior, causing the chimney to pull air down instead of up. Crack a window in the same room as the fireplace.
- Flue obstruction. If none of the above resolve it, a partial blockage — debris, animal nest, collapsed flue tile — may be restricting airflow. Do not continue lighting fires until a professional inspection clears the flue.
For persistent smoking problems, our dedicated diagnostics cover both scenarios in depth: smoke coming back into the house and fireplace not drawing properly.
What Are the Safety Essentials Every Seattle Fireplace Owner Should Know?
In 14 years of serving Seattle-area homes, the safety issues we encounter most often are preventable with simple, inexpensive precautions:
- Working CO detector within 10 feet of the fireplace. Carbon monoxide from a partially blocked or malfunctioning chimney is odorless and can reach dangerous concentrations before any visible smoke appears. Read our CO chimney warning signs guide to know what to watch for.
- Smoke alarm with a fresh battery, tested within 30 days.
- Minimum 3 feet of clearance from combustibles — rugs, furniture, holiday decorations, fireplace stockings.
- Screen or glass doors closed whenever the fire is active and any time you leave the room.
- Never leave an active fire unattended with children or pets present.
- Ash disposal protocol: metal bucket with tight-fitting lid, placed outdoors on a non-combustible surface (concrete, brick), and left to cool for a minimum of 3 full days before disposal in household trash. Hot ash causes more residential fires than most homeowners realize.
- Know the emergency procedure. Read our chimney fire emergency guide now — not when you smell smoke at midnight.
Pro Tips From 14 Years of Seattle Fireplace Calls
These are the small-but-significant insights our techs share on the job — the things that separate a fireplace that performs beautifully all winter from one that's a constant frustration:
- The newspaper draft test: before your first fire of the season, open the damper and hold a lit match inside the firebox. Smoke rising cleanly means good draft. Smoke hovering or drifting out means warm the flue first.
- Let 1 inch of ash accumulate — no more. A thin ash bed insulates the firebox floor and helps retain coals between loads. Anything over 2 inches blocks grate airflow and should be cleared.
- Burn hot, burn shorter. One well-built 2–3 hour fire produces far less creosote than three long, slow, smoldering fires. High combustion temperatures burn off volatile gases before they condense on the flue walls.
- Never burn overnight. A smoldering fire left to die overnight is the single largest residential creosote producer we see in the field. Let the fire burn down naturally while you're still awake, and close the damper only after the firebox is completely cold.
- Don't overload. Fill no more than two-thirds of the firebox depth with logs to maintain airflow above the fire. Overloaded fireboxes smother themselves and produce the heavy rolling smoke that stains brick and deposits on glass doors.
- Clean glass doors with ash and newspaper. Damp newspaper dipped in a small amount of cool ash removes soot from glass doors without chemicals. It's the technique our techs use on-site.
If you've been following these tips and your fires still underperform — smoking, dying out early, burning cool — the cause is almost always in the chimney, not the fire-building technique. In our experience, roughly 40% of the "bad fire" calls we receive across Bellevue and surrounding areas end with the discovery that the flue was significantly obstructed with creosote or debris.
Ready for a Better Fire Season? Start With a Clean Chimney.
The top-down method works best in a well-maintained chimney — and if you're heading into fall 2026 without a recent inspection, now is the time to book one before the Seattle rain season locks in. Our team performs chimney sweeps and inspections across 45 Seattle-area communities, typically completing same-week appointments from August through October before the season rush begins. Call (206) 278-2924 or book your $99 inspection online — we've served over 2,500 Puget Sound homes since 2011 and can usually have your flue inspection-ready within a few days.
Need professional help?
Our professionally trained team is ready. $99 inspection credited toward repairs, 30-minute response.