Common Chimney Repairs in Seattle: A Homeowner's Complete Guide
Why Seattle Chimneys Take More Punishment Than Most
Seattle records about 152 rain days per year — more than twice the national average — and its winters repeatedly cycle through the freeze-thaw temperature range that is most destructive to masonry. Water penetrates porous brick and mortar, freezes, expands, and fractures the material from the inside. This cycle repeats dozens of times each winter across the Seattle metro, from Queen Anne and Capitol Hill to Ballard, Bellevue, and Tacoma. The result is that chimney deterioration happens faster here than in most of the country, and repairs that might last 20-25 years in a drier climate often need attention in 10-15 years in the Pacific Northwest.
Add Seattle's moss and lichen growth — which hold moisture against brick and mortar surfaces for months at a time — along with a large housing stock of Craftsman bungalows and Victorian homes built with soft historic brick and lime mortar, and the repair picture becomes clear: Seattle chimneys face compounding stress from climate, biology, and age simultaneously.
Understanding which chimney repairs are most common — and what each one involves — helps you respond to inspection findings with confidence, evaluate contractor bids accurately, and make informed decisions about timing and priority. Our chimney repair team has worked on more than 2,500 Seattle-area chimneys since 2011. The repair types below are ordered roughly by frequency in our service area, with a priority table at the end of the guide.
Tuckpointing: The Most Common Chimney Repair in Seattle
Tuckpointing — also called mortar repointing or mortar joint repair — is the single most frequent chimney repair we perform across Seattle and the surrounding metro. The mortar joints between bricks are the weakest point in any masonry chimney, and in Seattle's climate they deteriorate well before the bricks themselves. Left unaddressed, deteriorated mortar joints allow water to infiltrate the chimney structure, accelerating damage to surrounding brick and eventually threatening structural integrity.
How to Spot Mortar Deterioration
- Mortar that appears visibly recessed, crumbled, or missing between bricks
- White powdery staining (efflorescence) on brick faces — a sign that water is moving through the mortar
- Brick faces beginning to flake or spall at the edges, often a downstream effect of water entering through failed joints
- Visible cracks running along mortar lines rather than through the brick faces themselves
What the Repair Involves
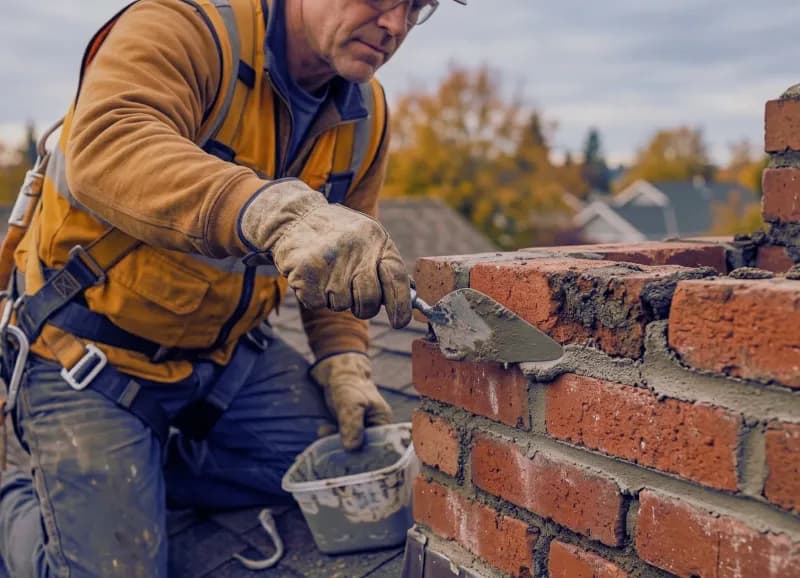
A skilled technician removes the deteriorated mortar to a depth of at least 3/4 inch using an angle grinder with a diamond blade or an oscillating tool — deep enough to ensure the new mortar bonds fully to the sound material beneath. The joints are cleaned of dust and loose debris before new mortar is packed in, tooled to match the existing joint profile, and allowed to cure properly. On Seattle's pre-1940 Craftsman and Victorian homes, this must be done with lime mortar rather than modern Portland cement. Portland cement is harder than historic soft brick and does not flex with thermal movement; when applied to older masonry, it causes accelerated spalling of the surrounding brick face over time.
In our 14+ years working on Seattle chimneys, we have remediated dozens of cases where improper Portland cement repointing — applied by well-meaning but uninformed contractors — caused more brick damage than the original mortar failure. Always verify that tuckpointing on a pre-1940 home uses lime mortar. Tuckpointing a full chimney typically costs $800-$2,500 depending on chimney height, number of faces, and extent of deterioration. See our Seattle tuckpointing cost guide for a full price breakdown. If you are unsure whether your chimney needs tuckpointing at all, our guide to signs your chimney needs repair covers the diagnostic indicators homeowners can assess from the ground.
Chimney Crown Repair: Seattle's Second-Most-Common Repair
The chimney crown is the concrete cap that seals the top of the chimney structure, spanning the gap between the flue liner opening and the chimney's masonry exterior. It is designed to shed water away from the flue opening and protect the top courses of brick from direct rain exposure. In Seattle, the crown takes a relentless beating — constant rain, freeze-thaw cycling, and exposure to Pacific Northwest wind gusts make it one of the first components to show significant wear. We see cracked or failed chimney crowns on the majority of Seattle homes that have not had chimney work in the past 10 years.
How to Spot Crown Damage
Crown damage is often visible from the ground using binoculars, though a rooftop inspection reveals the full picture:
- Visible cracks across the crown surface, especially radiating outward from the flue liner collar
- Portions of the crown missing, crumbled, or fallen away entirely
- Water staining on interior ceilings or walls near the fireplace — often the first symptom homeowners notice
- Efflorescence staining on the exterior masonry immediately below the crown line
Repair Options and Costs
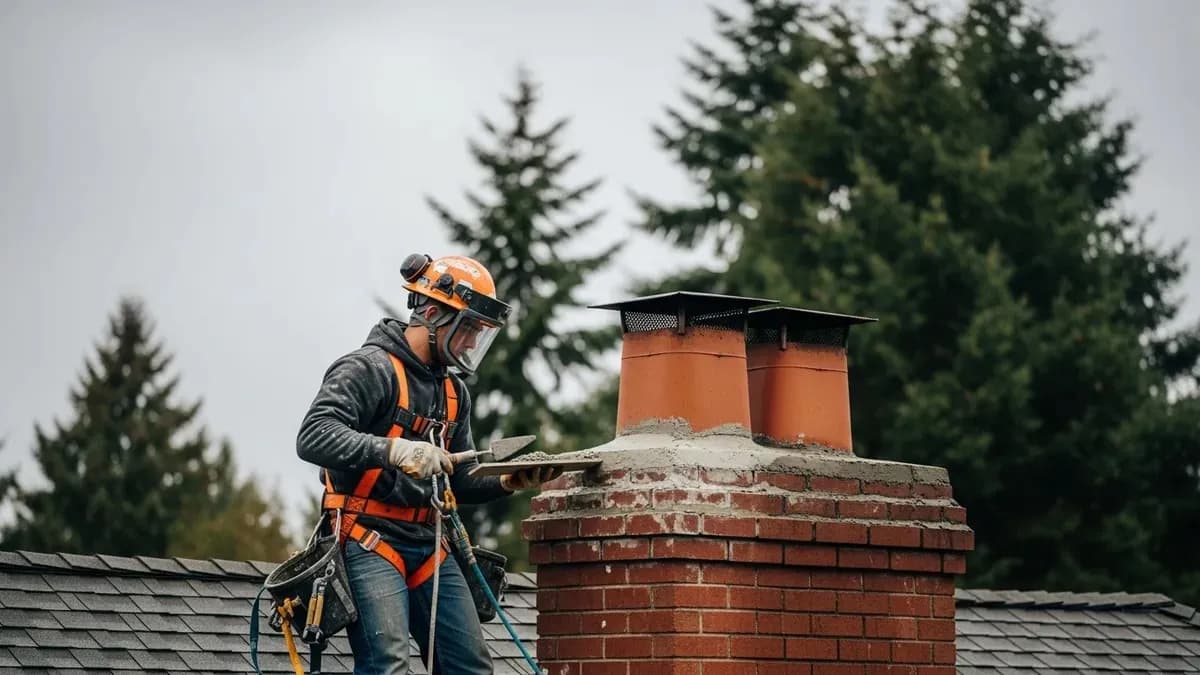
Minor crown cracking (hairline cracks) can be repaired with a flexible elastomeric crown sealant product — these bridge small cracks and restore waterproofing for roughly $250-$500 installed. More significant cracking or structural failure requires removing the damaged crown and pouring a new one; a full crown rebuild in Seattle typically runs $500-$2,000 depending on chimney size and roof access complexity. A properly formed crown extends 2-3 inches past the chimney face on all sides with a drip edge to direct water clear of the masonry. Many Seattle homes have crowns that were poured flush with the chimney face — a common older construction practice that allows water to run directly down the masonry and accelerates both mortar and brick deterioration.
Our chimney crown repair cost guide details the full range of repair and rebuild options. If the crown has been failing for several seasons, adjacent mortar joints and flashing should also be inspected — water rarely stays contained to a single failure point in a Seattle chimney.
Chimney Flashing Repair: The Hidden Source of Most Chimney Leaks
Chimney flashing is the waterproof metal barrier that seals the transition between the chimney and the roof — arguably the most vulnerable junction on any roofed structure. Water that bypasses the flashing does not just damage the chimney; it infiltrates the roof deck, wall framing, and ceiling below, often causing remediation costs that dwarf the flashing repair itself. In our experience across Seattle-area homes, failing flashing is the leading cause of interior water damage that homeowners initially attribute to chimney problems.
How Flashing Works and Where It Fails
Properly installed chimney flashing consists of two layers: base flashing (step flashing) that weaves into the roof shingles along the chimney sides and back, and counter-flashing that is mechanically embedded into the chimney mortar joints and overlaps the base flashing. The counter-flashing must be cut into the masonry and sealed — not just caulked to the surface — to create a durable watertight barrier. Common failure points in Seattle homes include:
- Counter-flashing pulling free from mortar joints as caulk dries, shrinks, and fails over years of Pacific Northwest rain
- Step flashing stepping out of alignment as the roof structure shifts seasonally
- Galvanized steel flashing corroding through from prolonged moisture exposure — galvanized material in Seattle's wet climate typically lasts 15-20 years before showing significant corrosion
- Improper prior repairs that used only surface-applied caulk rather than mechanically embedded metal flashing
Repair vs. Full Replacement
Minor flashing failures — a single separated seam or a corroded fastener — can sometimes be addressed with appropriate sealant. But Seattle's rain volume makes thorough repairs critical: a marginal repair that holds through a dry summer often fails by October. Full flashing replacement with new copper or aluminum material, properly integrated into both the roof shingles and the chimney masonry, typically costs $600-$2,000 in Seattle. Our chimney flashing repair service includes a rooftop assessment of adjacent shingles and masonry to ensure the repair scope is complete. Specific pricing by repair type is covered in our flashing repair cost guide.
Chimney Cap Replacement: A Small Part That Does a Big Job
A chimney cap sits atop the flue opening, serving three critical functions simultaneously: it blocks rain from falling directly into the flue (a single Seattle rainstorm can deliver gallons of water into an uncapped chimney), it prevents wildlife from nesting in the flue, and it reduces downdraft by deflecting wind across the top of the chimney. Caps are relatively inexpensive components, but their absence or failure creates disproportionate problems — and in Seattle's wet climate, an uncapped chimney deteriorates measurably faster than one with a properly fitted cap.
Signs Your Chimney Cap Needs Replacement
- Rust staining on the crown or exterior masonry below the cap level
- Birds, squirrels, or raccoons entering the chimney — Seattle's urban wildlife includes all three, and May is peak nesting season
- Unusual water presence in the firebox after rain without evidence of flashing failure elsewhere
- Visible damage, bent mesh screens, or displaced cap from fallen branches (Seattle's large deciduous trees shed significant branches in wind events)
- Mesh screen corroded through, allowing debris or small animals to enter the flue
Cap Selection and Costs
Single-flue galvanized steel caps start around $100-$200 installed. Stainless steel caps with lifetime manufacturer warranties run $200-$400 installed and are worth the premium in Seattle's corrosive wet climate — galvanized caps typically last 5-10 years here, stainless caps 25+ years. Multi-flue caps that cover the entire chimney top with a single large unit are available from $350-$800 installed and are popular on Seattle's many multi-flue Victorian and mid-century homes. Our chimney cap installation service includes fitting the cap to specific flue dimensions and securing it against wind displacement — important on Seattle's more exposed rooflines where unsecured caps routinely shift or blow off.
Chimney Liner Repair and Relining: When the Core System Fails
The flue liner — the continuous interior passage that channels combustion gases from the firebox up and out of the home — is one of the most safety-critical components in any chimney system. A compromised liner allows combustion byproducts including carbon monoxide to transfer into living spaces, and allows heat from flue gases to contact adjacent combustibles. NFPA 211 requires the liner to be intact, properly sized, and free of deterioration. When a liner inspection reveals significant damage, use of the fireplace or stove should be suspended until repair is complete.
Liner Types Found in Seattle Homes
Seattle's housing stock includes all three primary liner types, each with distinct failure modes:
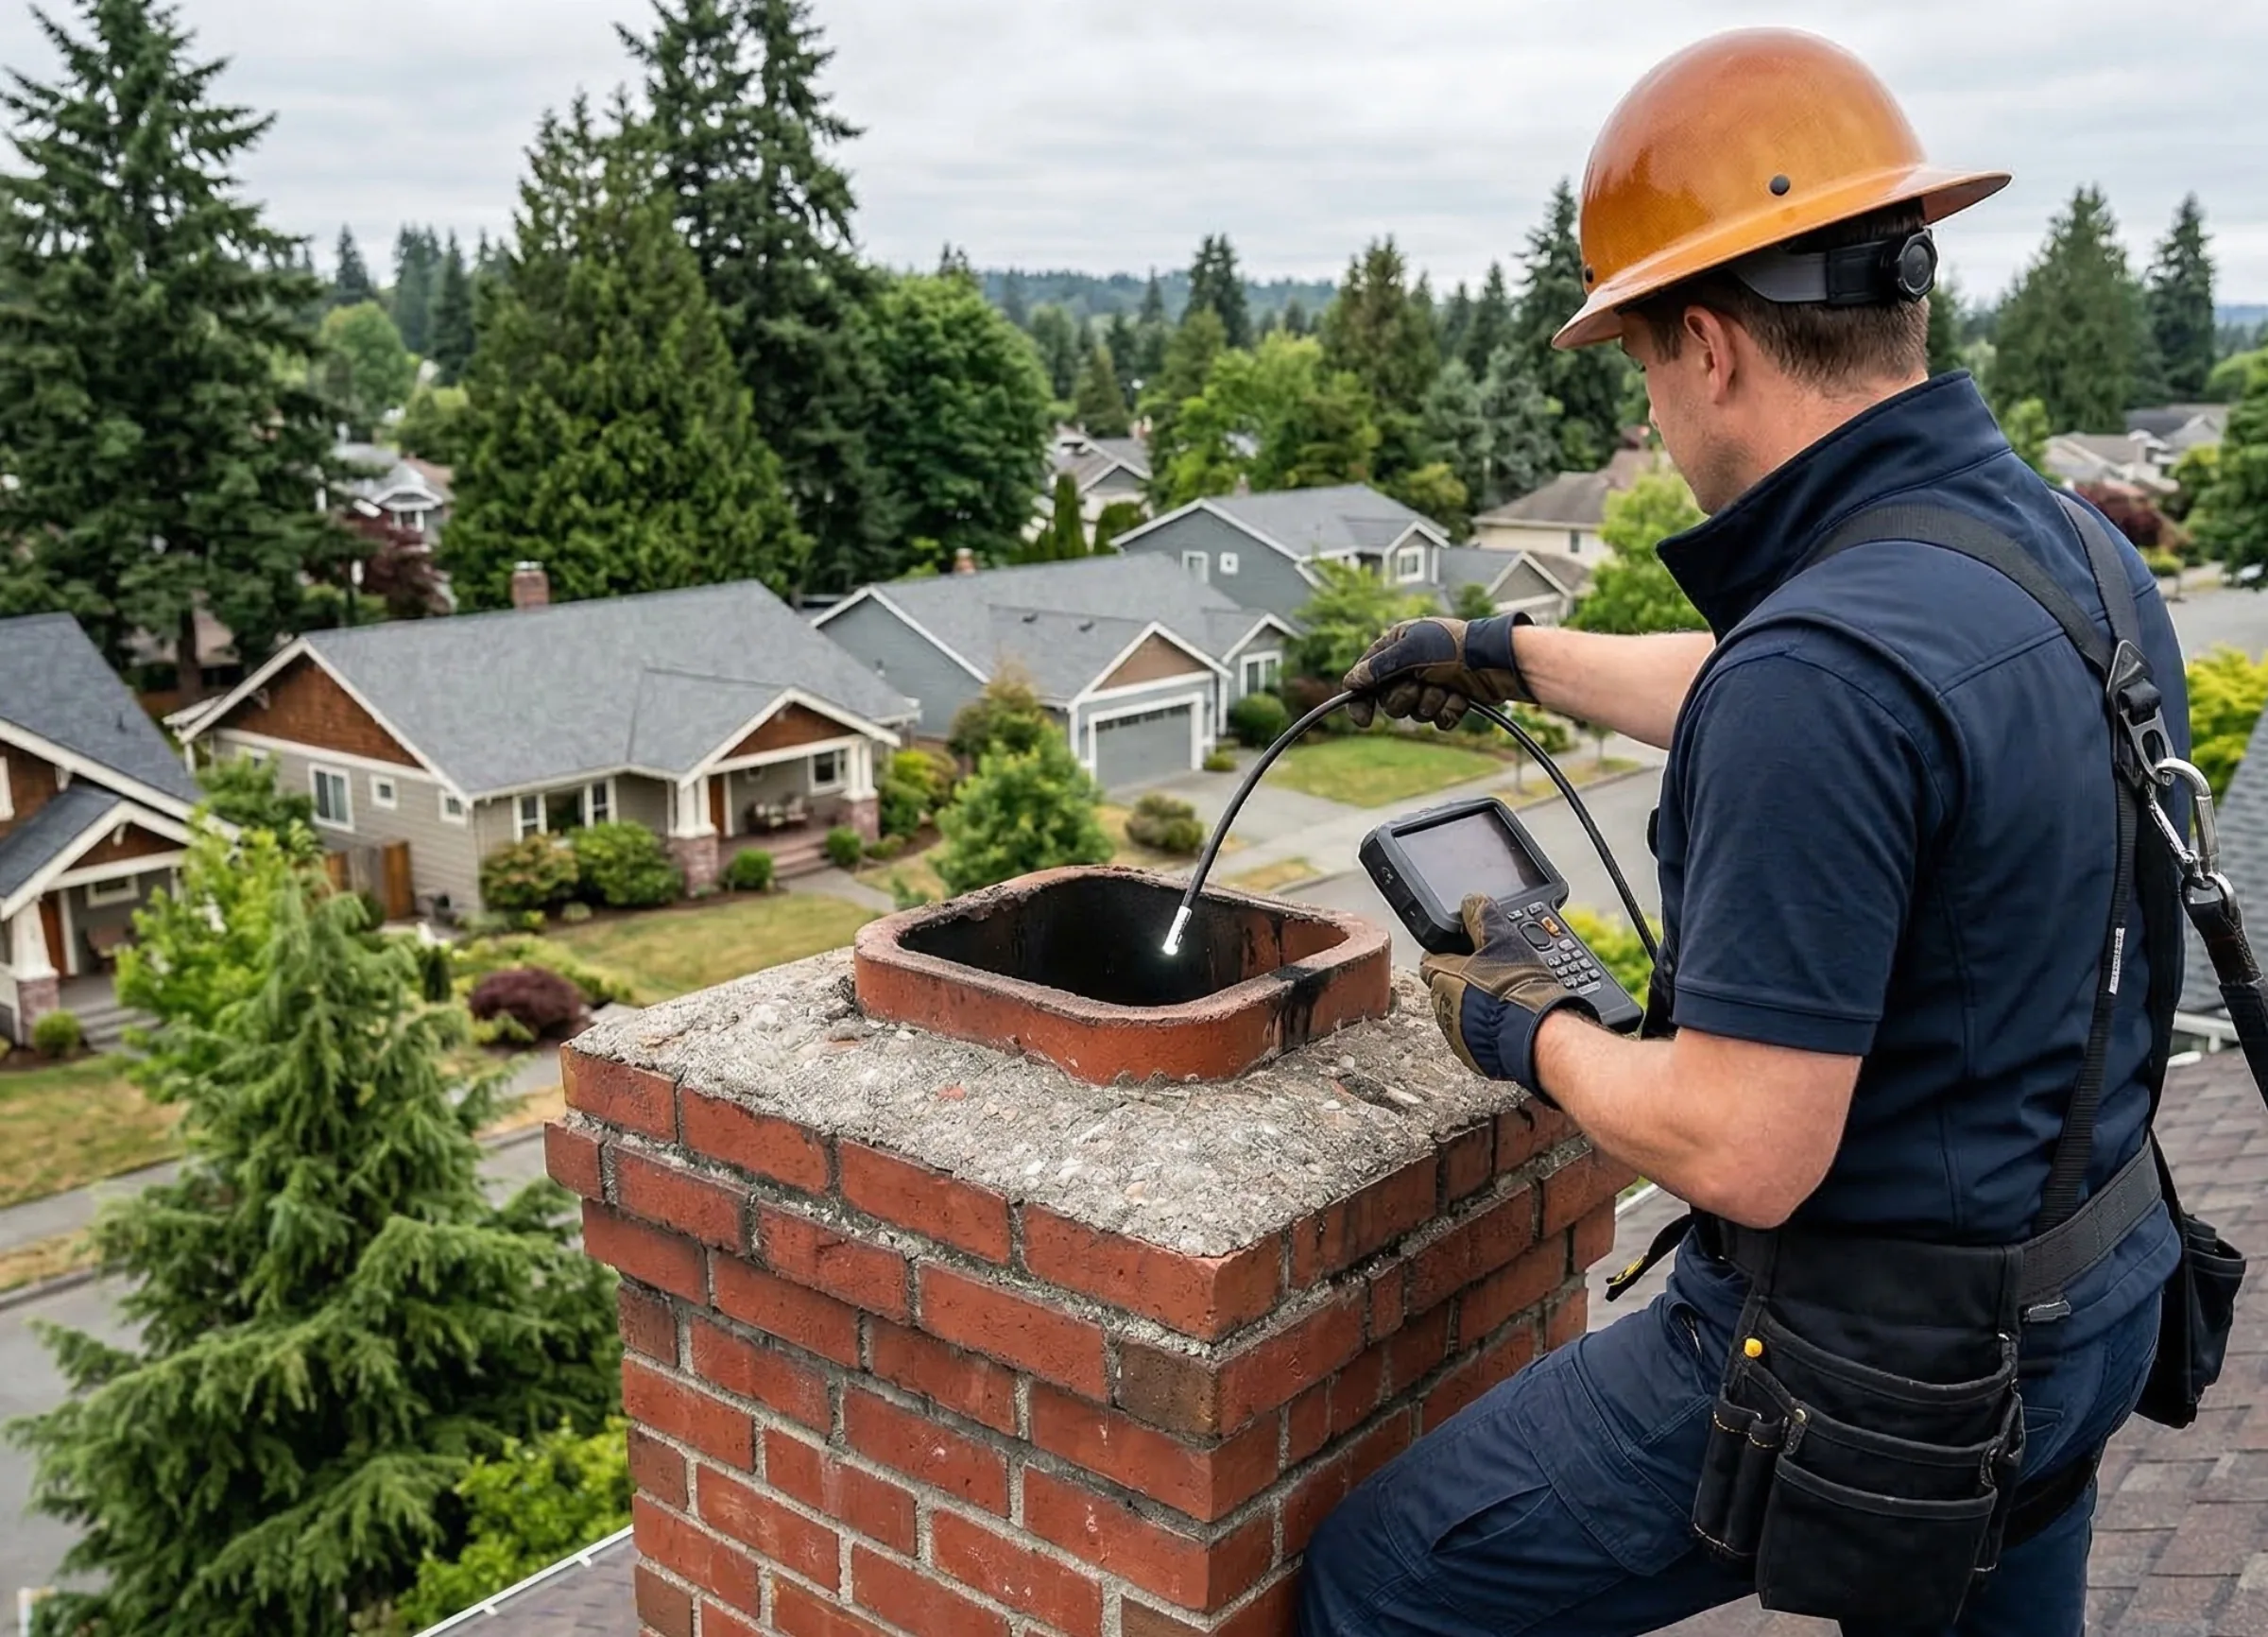
- Clay tile liner: Standard in pre-1970 Seattle homes. Clay tiles crack from thermal cycling and chimney fire heat, and can partially obstruct the flue when tile sections separate or collapse. A CSIA-certified inspector using a flue camera can identify crack severity and separation clearly.
- Stainless steel flex liner: Used in most relining projects since the 1990s. Can develop joint separation, stress cracks in corrugated sections, or oxidation in the high-moisture environment of a rarely-used flue. Most manufacturer warranties run 15-25 years.
- Cast-in-place liner: A poured insulating cement product used in irregular or severely deteriorated flues. Very durable when properly installed, but stress cracks around offsets and bends can develop over time.
When Relining Is Necessary
Relining is indicated when a clay liner shows cracks wider than 1/8 inch, when stainless steel shows joint separation or through-metal oxidation, or when any liner shows deterioration that has compromised the sealed flue path. It is also required when upgrading appliances — converting from a wood-burning fireplace to a gas insert requires a liner sized to the specific BTU output and venting requirements of the new appliance. Stainless steel liner installation in a typical Seattle home runs $2,500-$5,500 depending on flue height, bends, and access. For a full breakdown, see our chimney liner replacement guide and our comparison of clay, stainless, and cast-in-place liner types.
Firebox Refractory Repair and Damper Replacement
Two components inside the firebox itself frequently need attention in Seattle homes — particularly in older homes where the fireplace has seen heavy use, or where water has infiltrated through a failed crown, cap, or flashing over multiple seasons.
Firebox Refractory Repair
The firebox walls and floor are lined with refractory materials — specialized brick and mortar designed to withstand temperatures up to 2,000°F during normal fireplace use. Over time, the refractory mortar joints crack from thermal cycling, and in water-damaged fireplaces, refractory panels can spall, pit, or separate from the backing masonry. Minor refractory mortar joint cracking is repaired with refractory mortar specifically formulated for high-temperature applications — never standard Portland cement, which cannot withstand the thermal stress and will fail rapidly. Spalled or deteriorated refractory panels in prefab fireplaces are replaced as modular units matched to the original manufacturer specification. A full firebox rebuild in a masonry fireplace — pouring a new refractory firebox from scratch — runs $1,500-$6,000 depending on size, access, and the extent of surrounding masonry damage.
Damper Repair and Replacement
The throat damper sits just above the firebox opening and controls airflow when the fireplace is in use. Dampers in Seattle homes rust and corrode from moisture exposure, especially in chimneys that have experienced water infiltration. A rusted damper that will not fully close allows conditioned air to escape year-round — a significant energy loss through Seattle's 7-month heating season — and allows cold, moist outside air into the home. When throat dampers are corroded beyond repair, an increasingly popular alternative is a top-mounted damper installed at the chimney cap level, which seals the flue from the top and adds wildlife exclusion as a secondary benefit. Our chimney inspection service assesses both refractory condition and damper operation as standard components of every inspection, with written documentation of findings.
Prioritizing Chimney Repairs: What to Fix First and What Can Wait
Not every chimney repair requires emergency action, but some do — and knowing which is which prevents both unnecessary panic and real safety risks. The following table ranks the most common Seattle chimney repairs by urgency level:
| Repair Type | Urgency | Risk of Delay | Typical Cost Range |
|---|---|---|---|
| Liner deterioration (cracks, gaps, separation) | High — suspend use immediately | CO intrusion, structure fire risk | $2,500 – $5,500 |
| Active flashing failure with water entry | High — act before next rain | Interior structural water damage accelerates rapidly | $600 – $2,000 |
| Crown cracking (moderate to severe) | High — schedule within weeks | Water infiltration damages mortar and liner | $500 – $2,000 |
| Missing or damaged chimney cap | Medium-High — before nesting season | Wildlife entry, ongoing water damage | $100 – $500 |
| Mortar joint tuckpointing | Medium — within the season | Accelerating masonry deterioration and water infiltration | $500 – $2,500 |
| Damper repair or replacement | Medium — before heating season | Energy loss, draft problems, wildlife entry | $150 – $500 |
| Crown cracking (minor hairline only) | Low-Medium — within 6 months | Minor water infiltration if left through a Seattle winter | $250 – $500 |
| Refractory mortar joint repairs | Low-Medium — before heavy use | Accelerating firebox wear, eventual heat transfer risk | $200 – $600 |
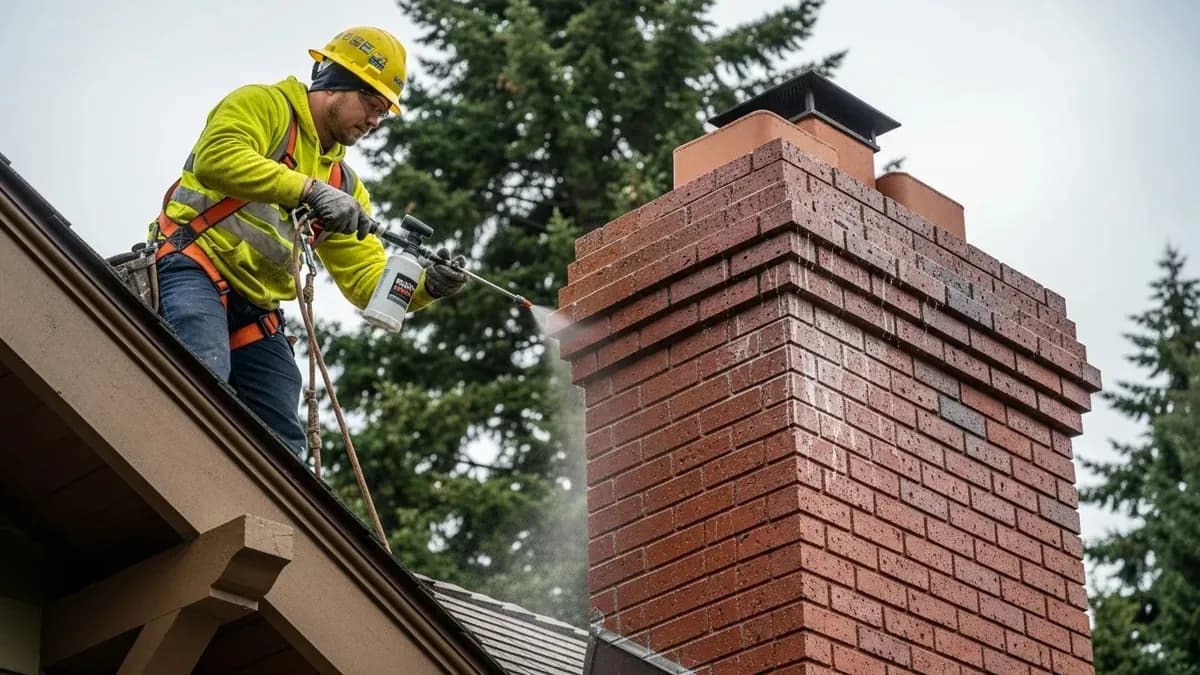
One critical note on repair sequencing: always complete waterproofing repairs — flashing, crown, cap — before proceeding with masonry repairs. Doing tuckpointing on a chimney that still has a failing flashing or damaged crown is counterproductive; the new mortar will immediately begin taking on water through the unresolved entry points. Our chimney repair vs. replacement guide helps with the bigger-picture decision when multiple repairs add up to significant cost. For baseline pricing across all repair types, our Seattle chimney repair cost guide covers each repair category in detail. And if you are not yet sure what your chimney needs, a chimney waterproofing assessment is often the right starting point after a wet Seattle winter.
Schedule Your Chimney Repair Assessment With Seattle Chimney Pros
If your chimney has shown any of the symptoms described above — or if you have an inspection report identifying needed repairs — Seattle Chimney Pros provides written, itemized repair estimates for all chimney repair types across the Seattle metro. We are family-owned and have served more than 2,500 homeowners across Seattle, Bellevue, Kirkland, Renton, Tacoma, and surrounding communities since 2011. Our technicians are CSIA-certified, our repair work carries a written two-year labor warranty, and we photograph all findings and completed work so you have a permanent record.
We do not begin work until you have reviewed and approved the written scope and price. We accept all major credit cards and do not require large upfront deposits. If your chimney needs nothing, we tell you — and charge only for the inspection. No pressure, no manufactured urgency, no inflated findings.
To schedule a chimney repair assessment or a chimney inspection, call (253) 429-8006 or request an appointment online. Most appointments are available within 3-5 business days, with priority scheduling for active leaks and safety-related findings. We cover Seattle, Bellevue, and 40+ communities across King, Pierce, and Snohomish counties.
Need professional help?
Our professionally trained team is ready. Free estimate, 30-minute response.